

4 easy steps to add contact form to your website that sends inputs to your mail for free


After creating a contact form on your website, you may want to add a code that collects the name, email, message etc for anyone who fills out the form and sends the details to any desired email of your choice. Emailjs is the answer. It offers free email delivery and it's very easy to use.
In this tutorial, we will create an html contact form and then integrate EmailJS into it in just 4 easy steps.
Please follow me on Twitter and Github to get more of these articles when they drop. Lets begin!
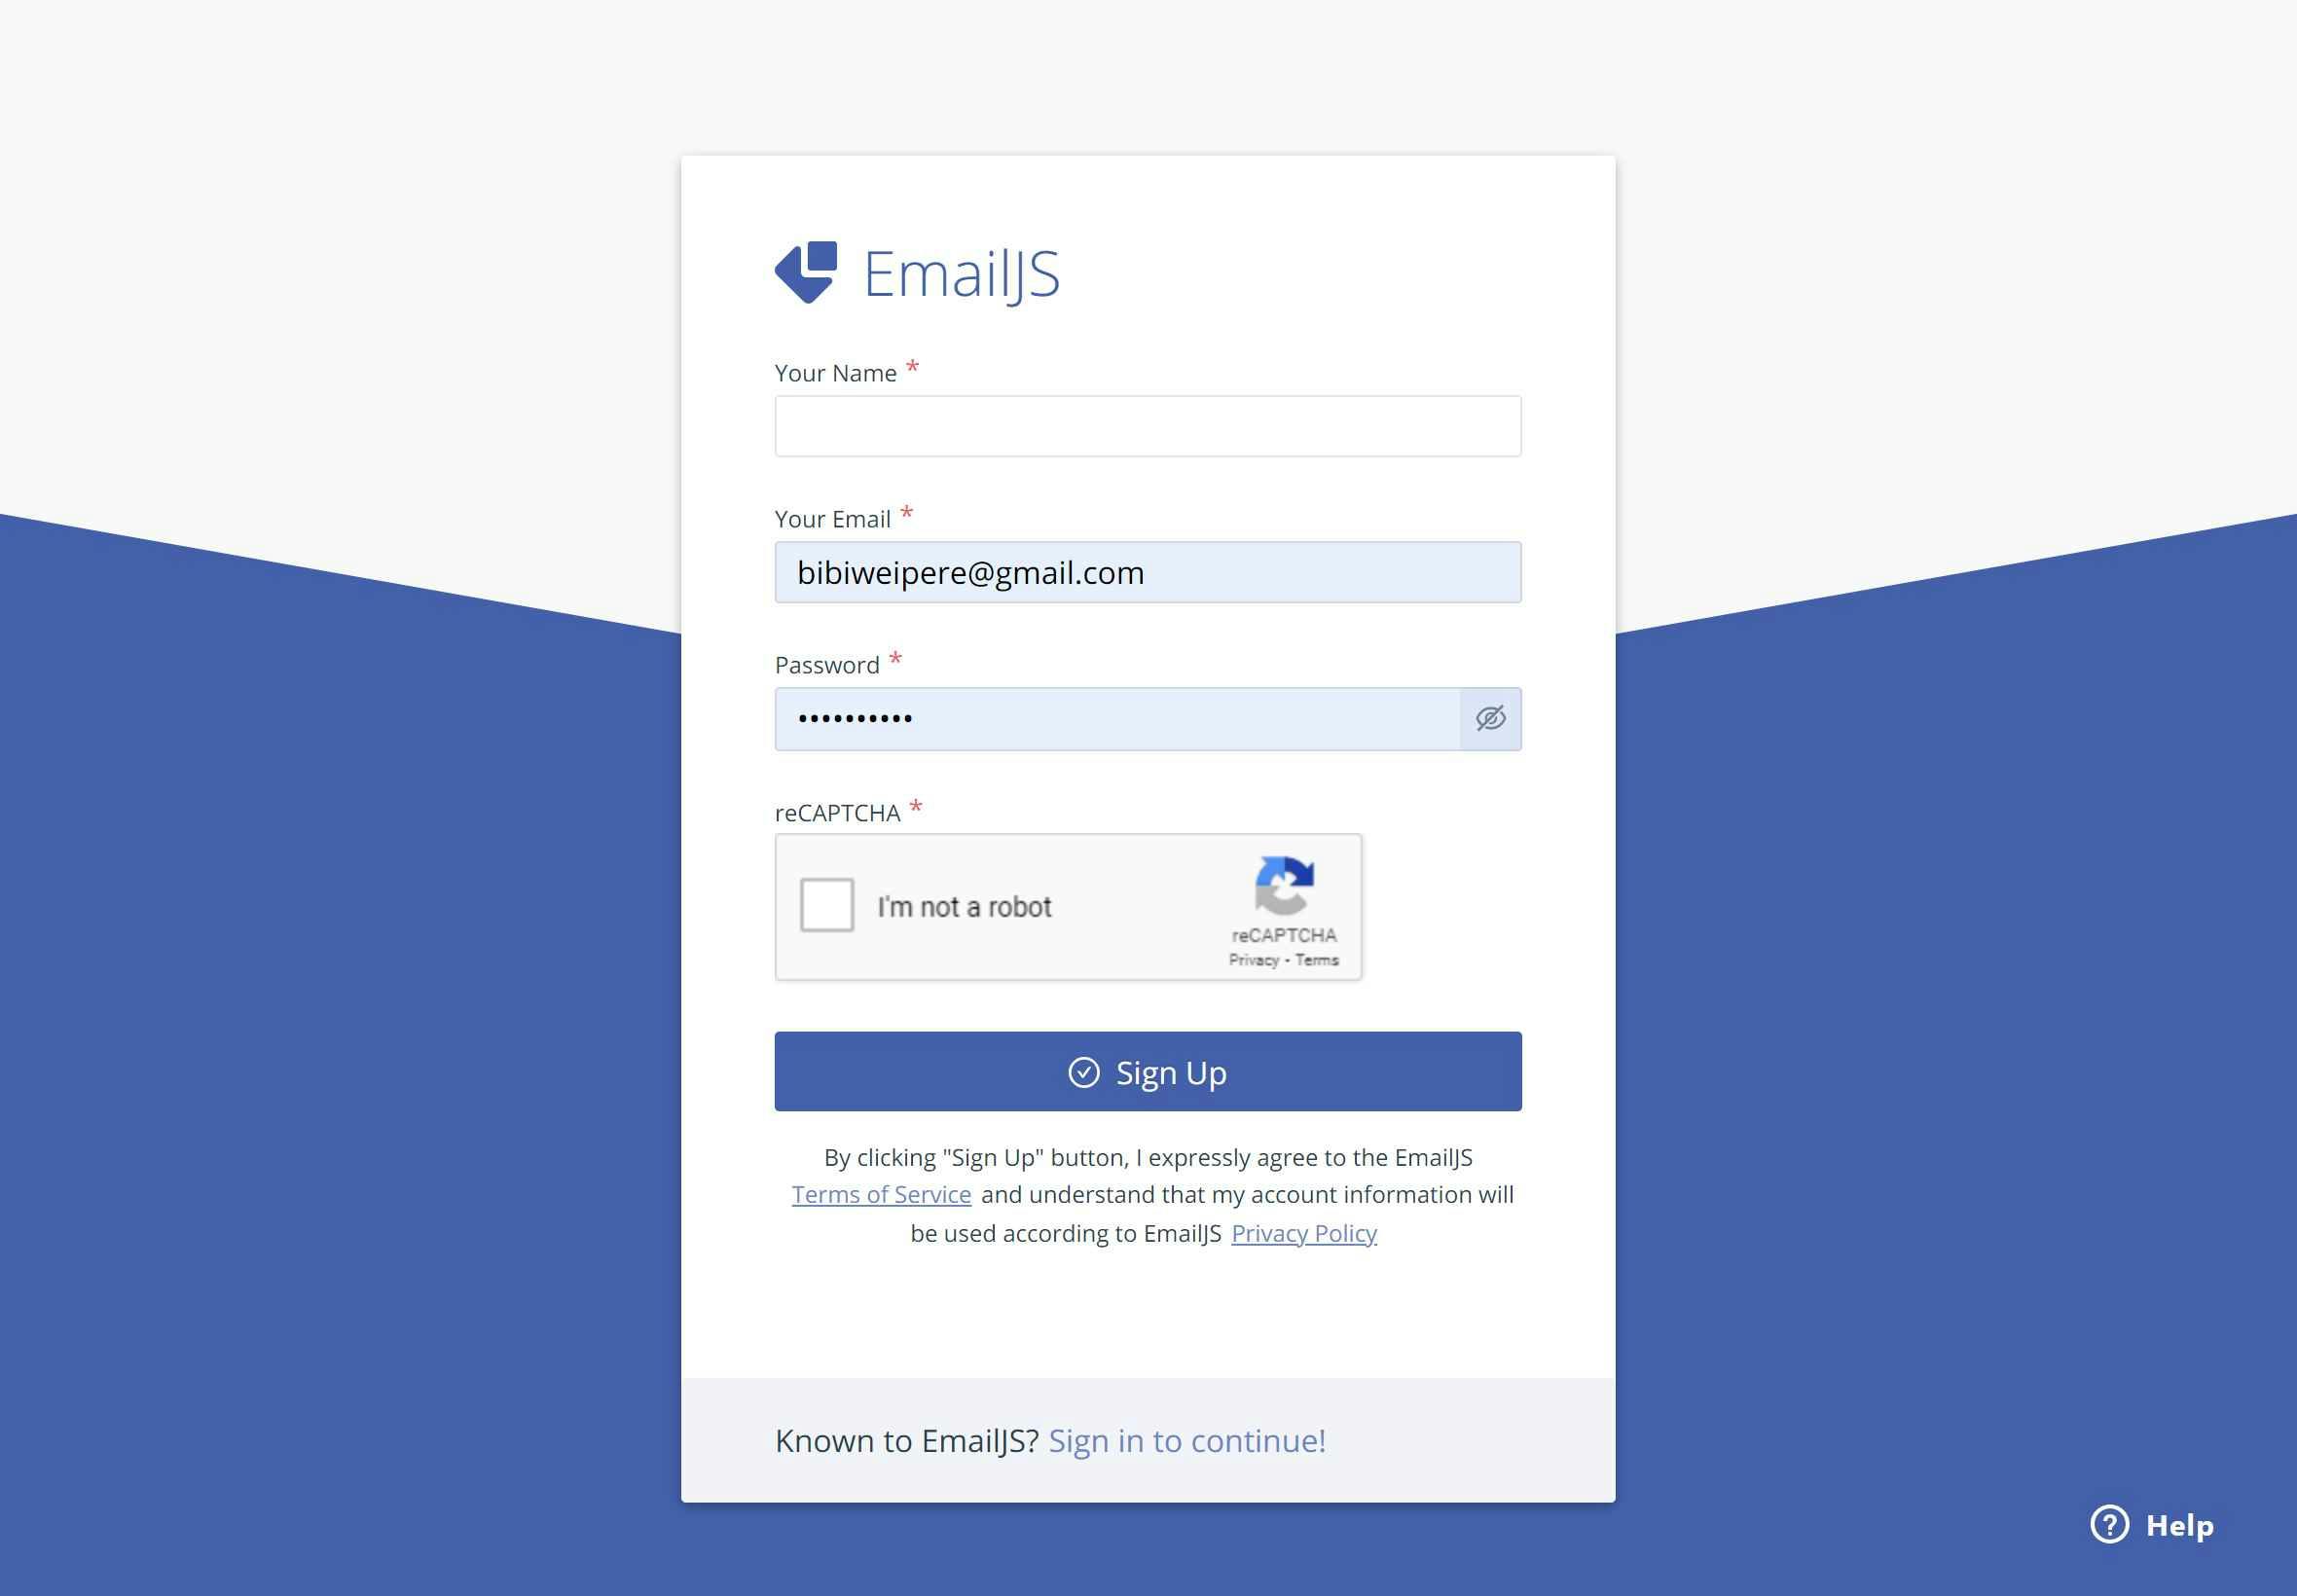
Step 1 - Create an Emailjs Account
visit EmailJS to create a free account or login if you already have an account:
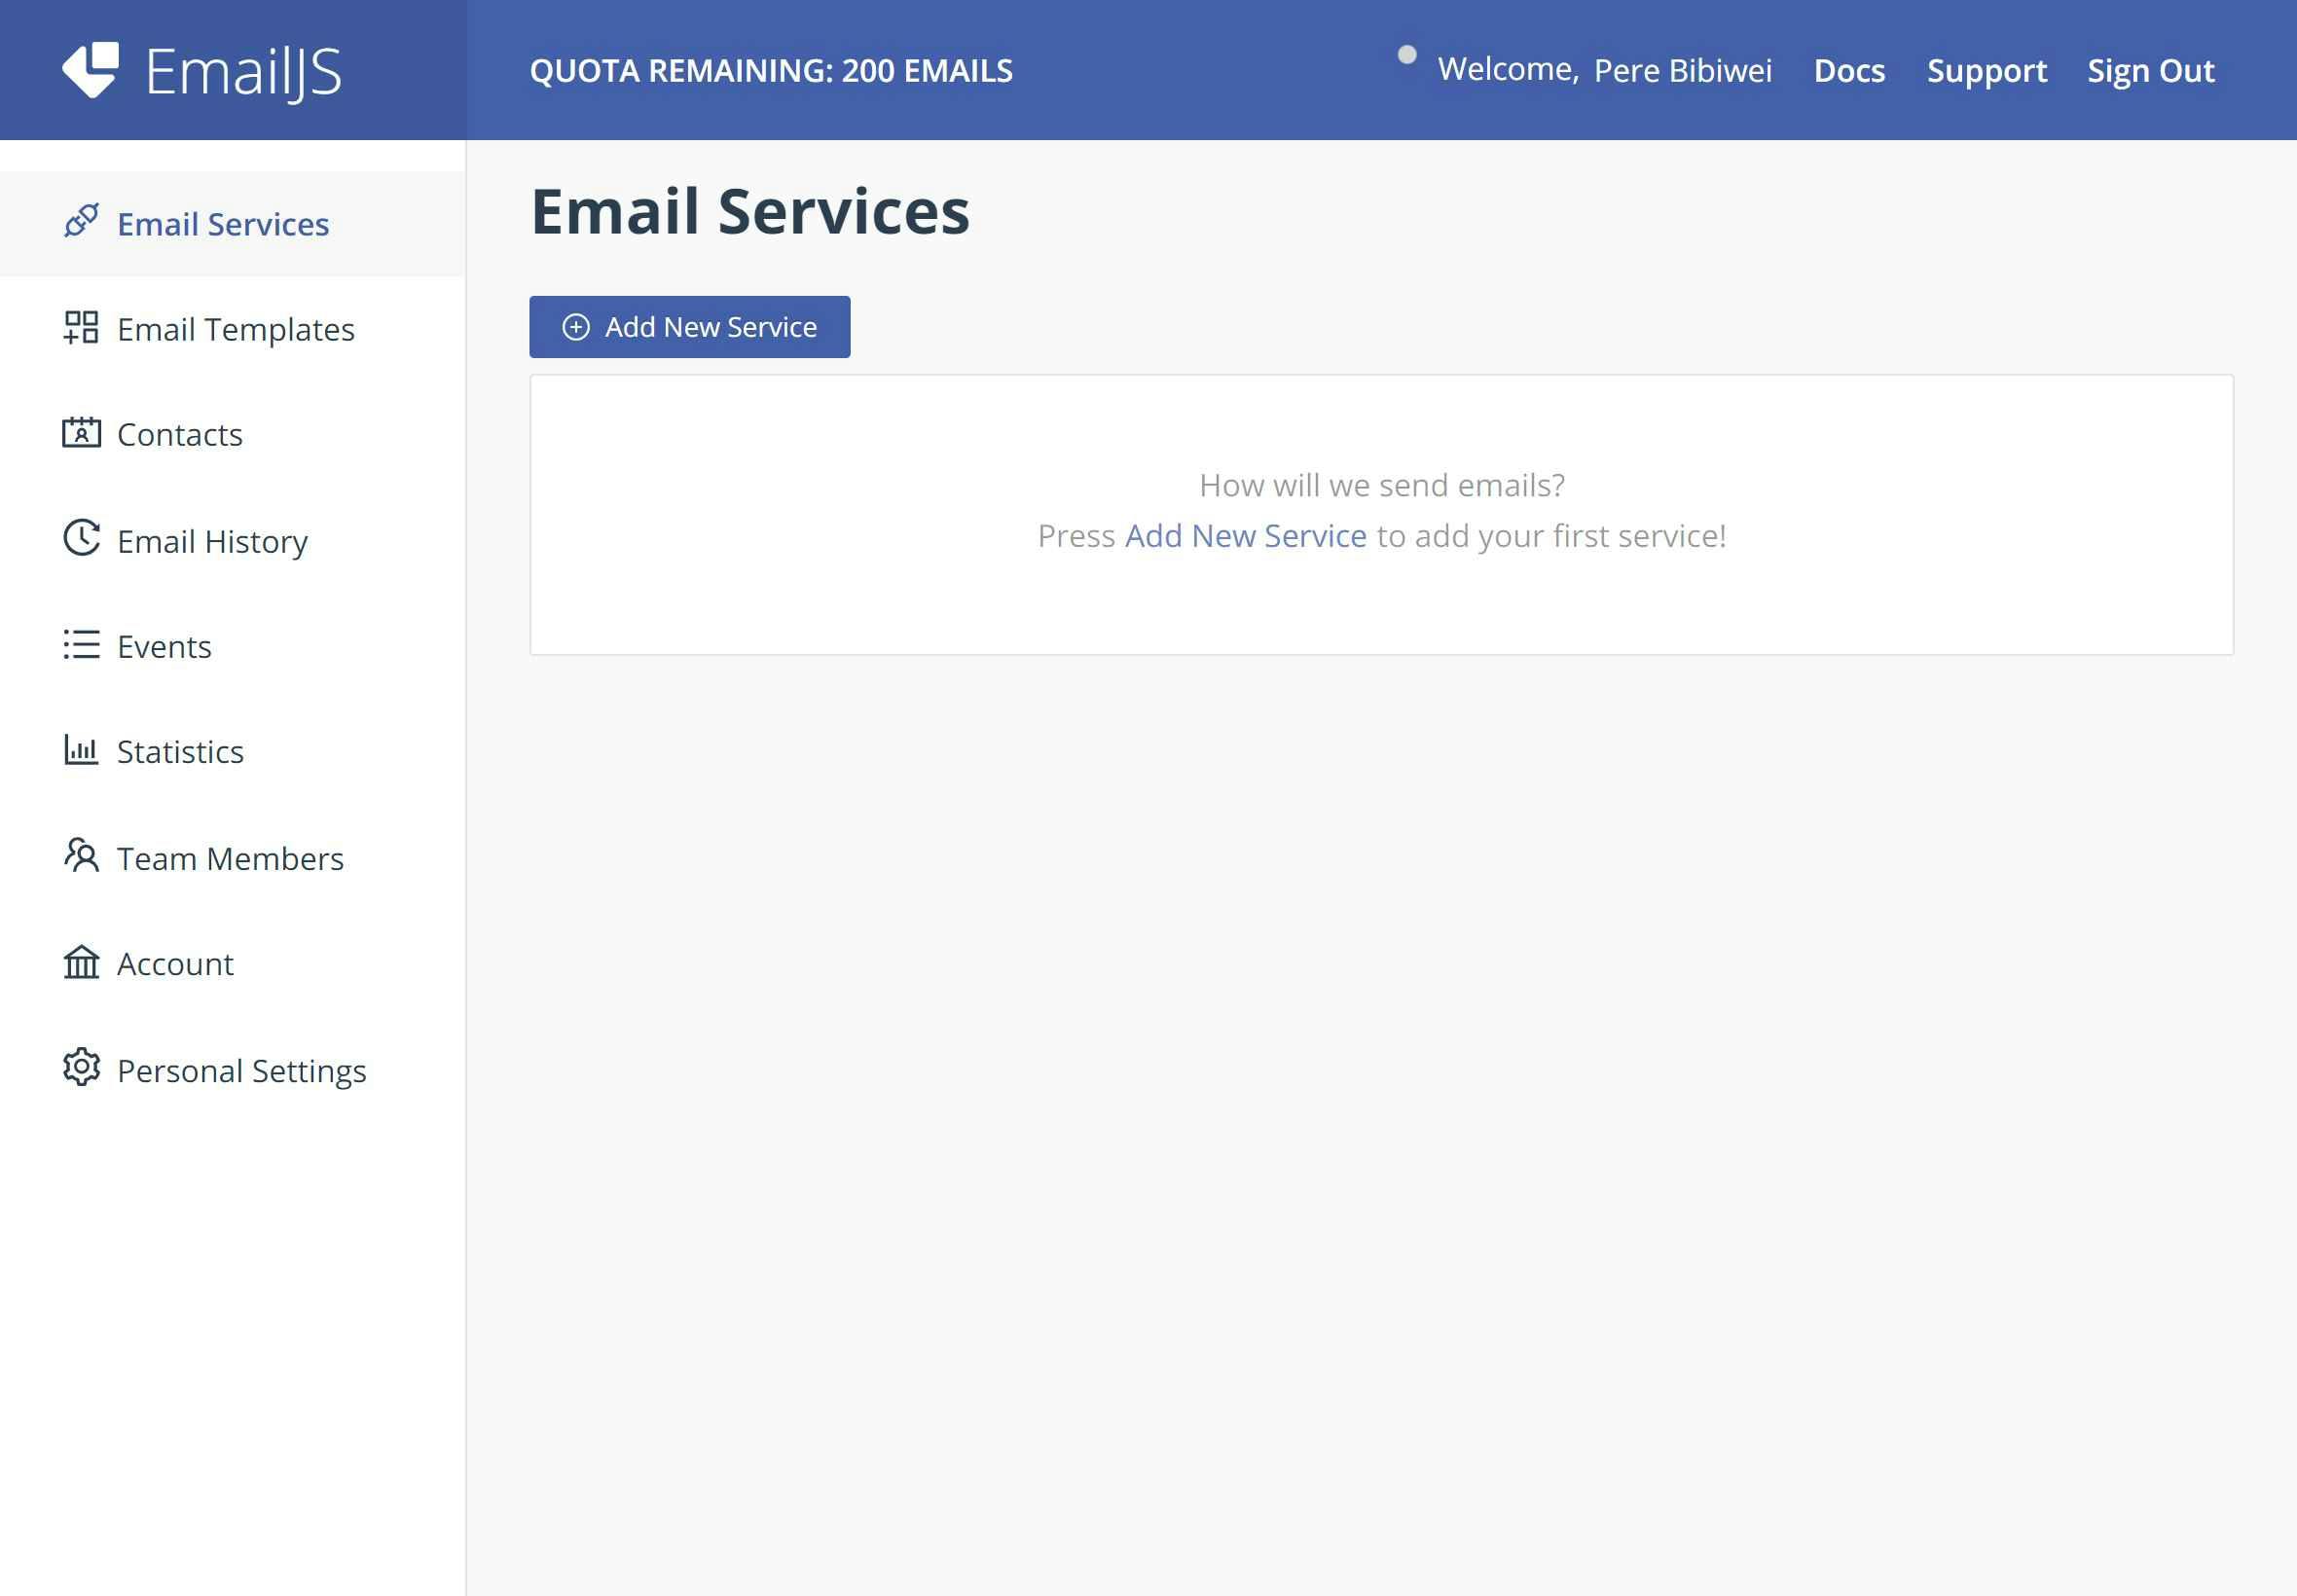
Step 2 - Add New Service
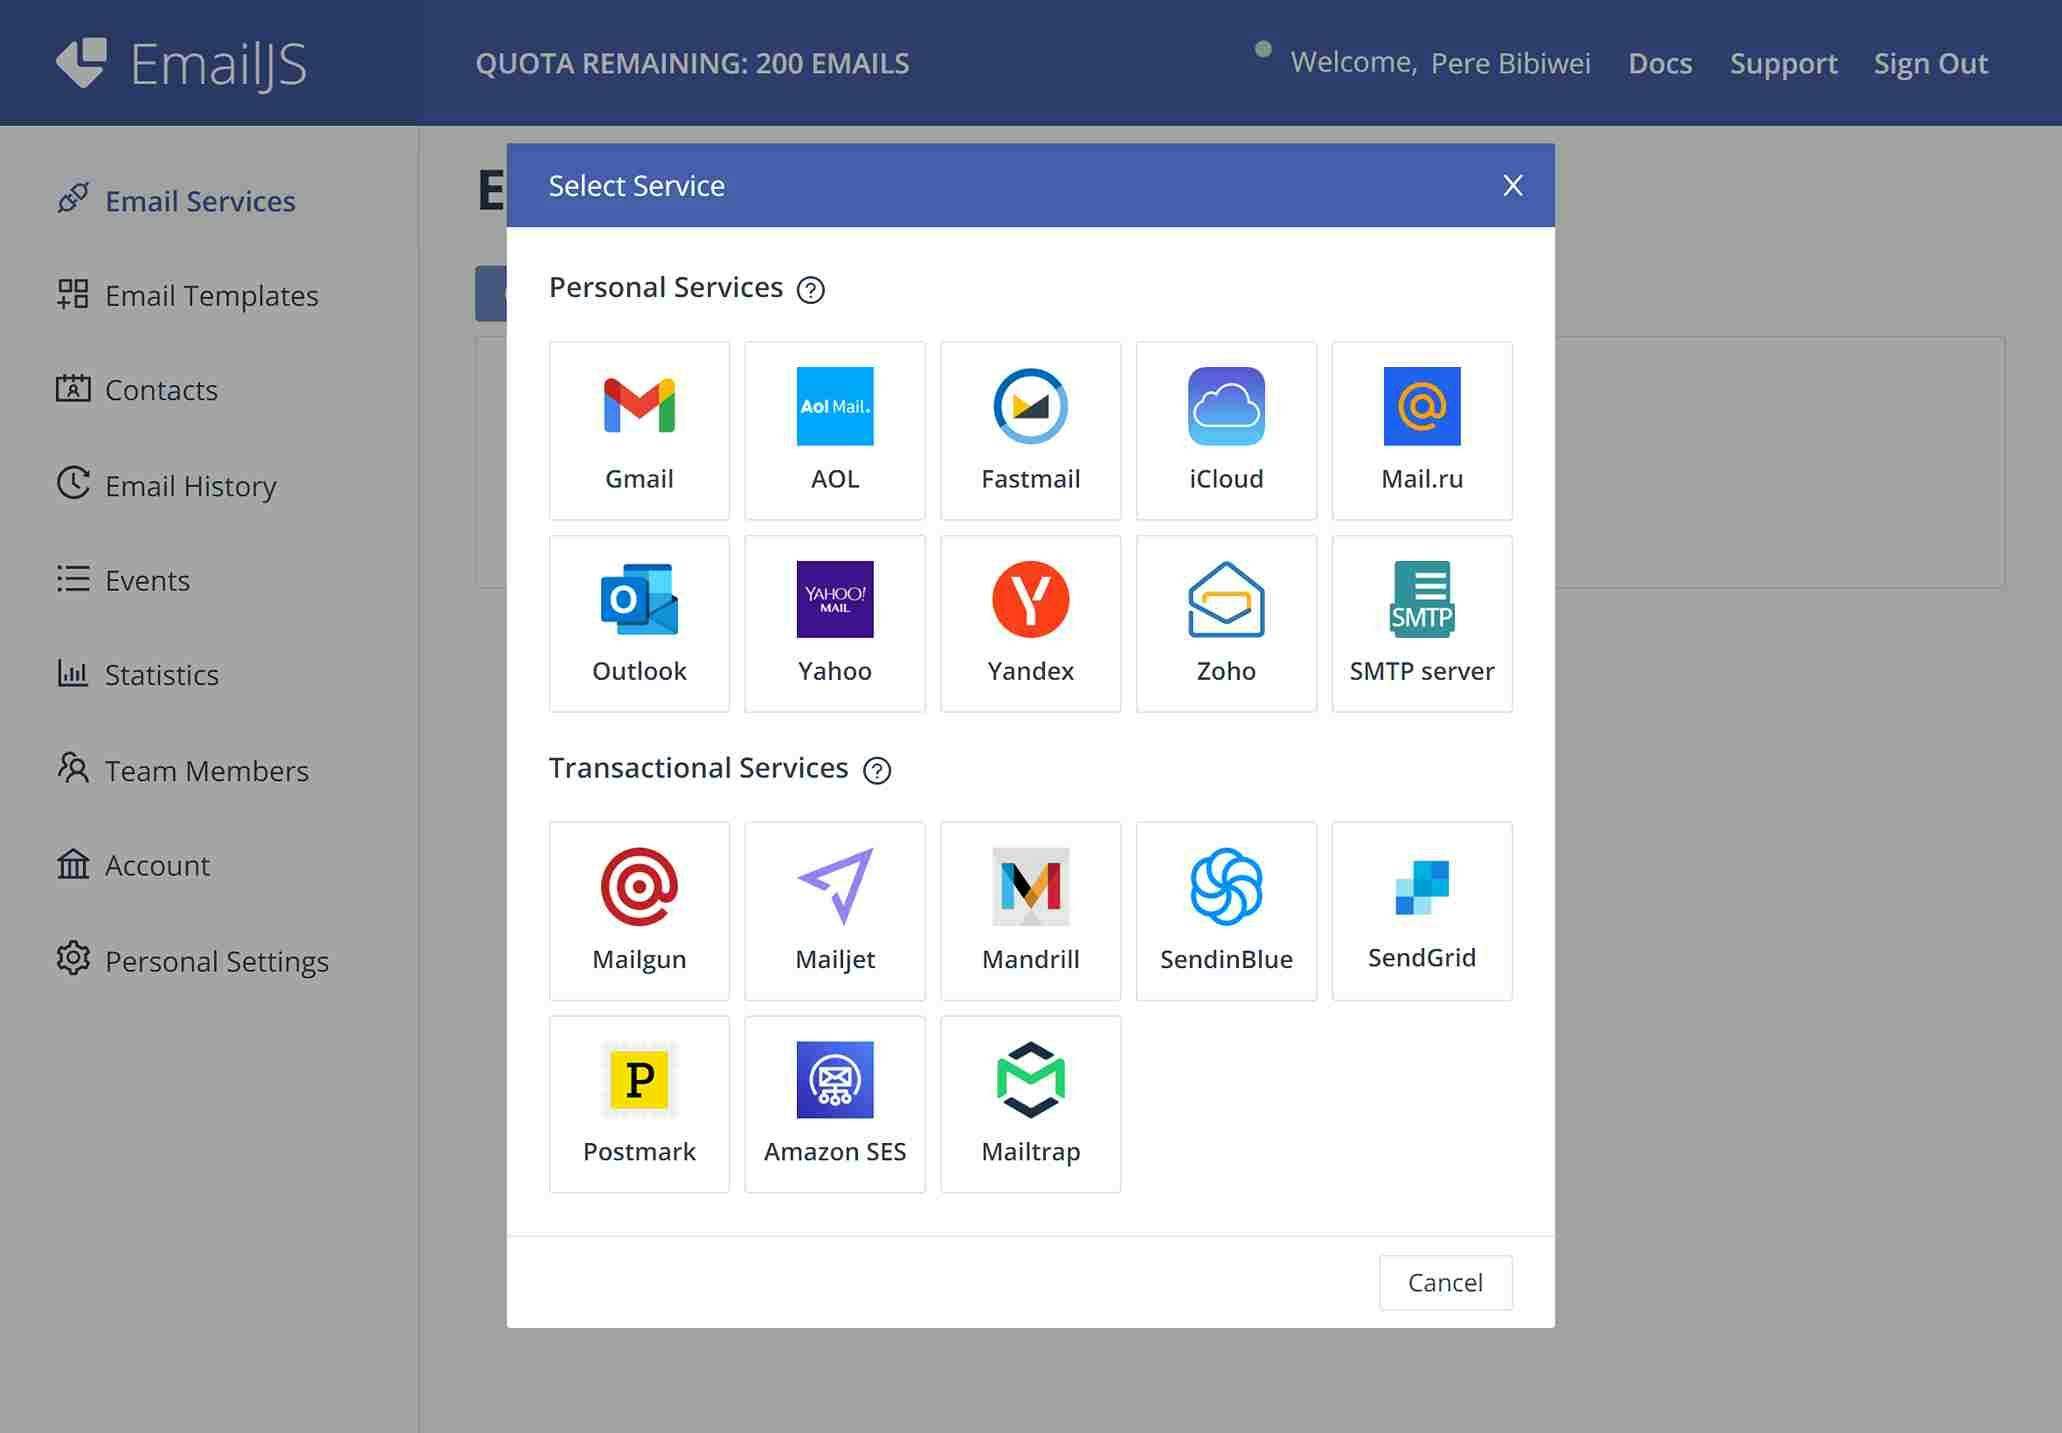
After login, we click Email Services and then Add New Service and select the service you want. We will be using Gmail service for this tutorial:
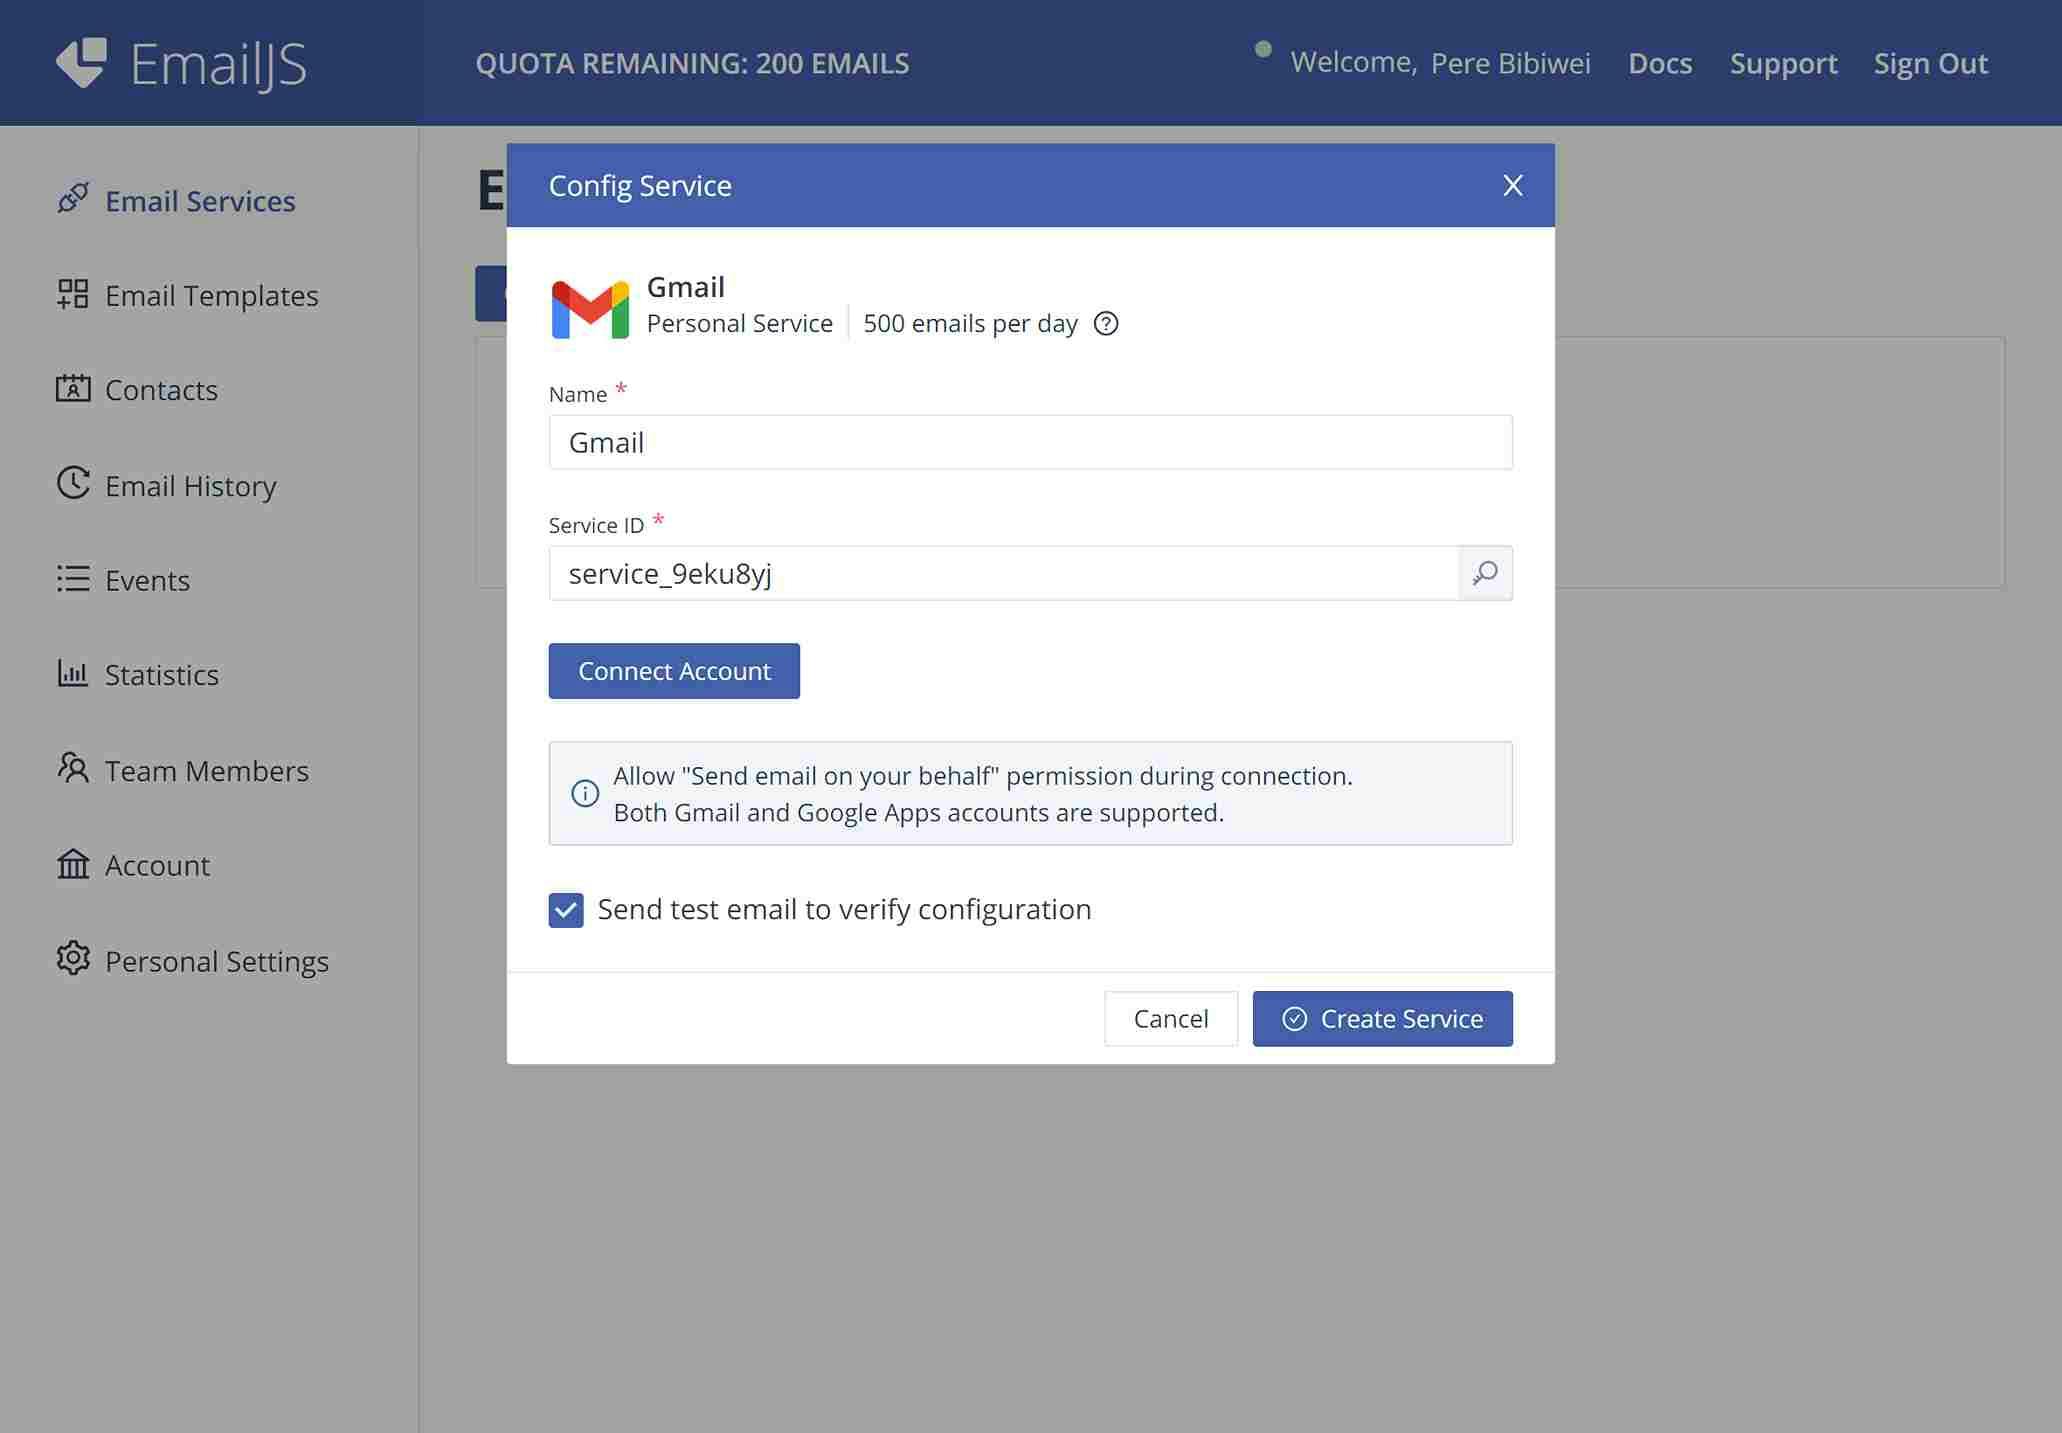
Next, we change the Name to Contact Service and the Service ID to contact_service*(You can use any name or Service ID of your choice):*
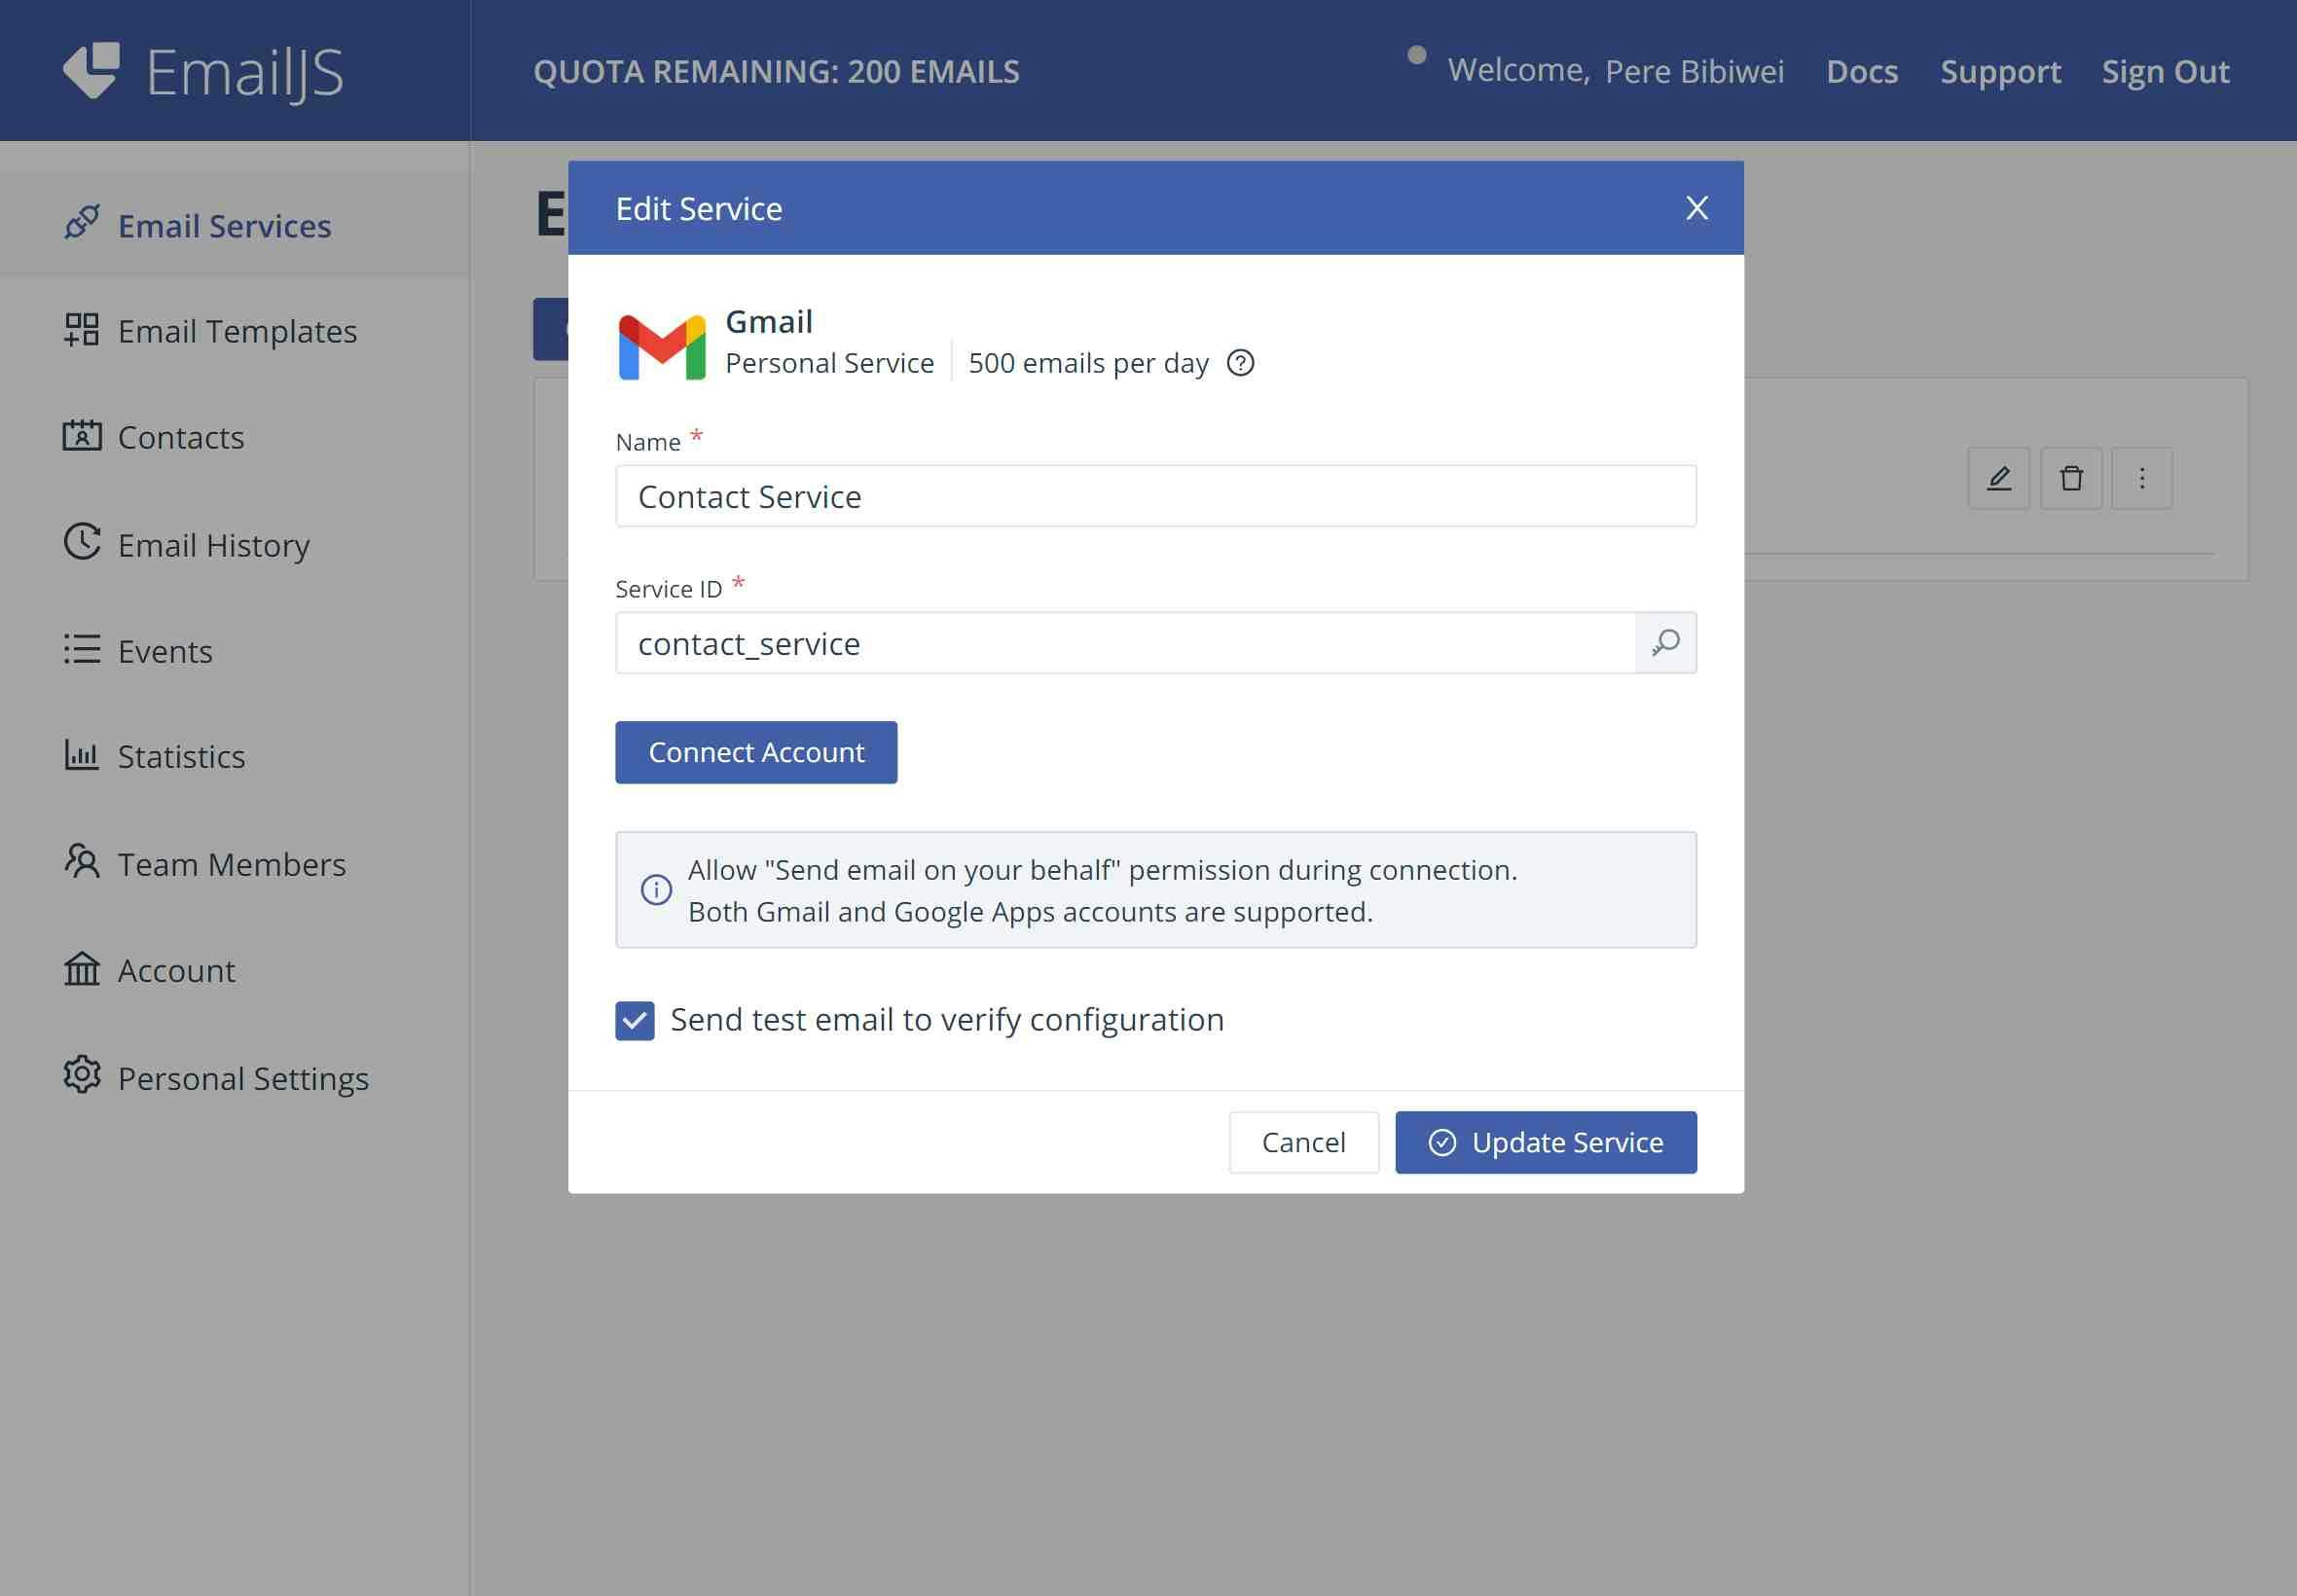
Next, we click Connect Account and select the email you want the messages or feedbacks from the contact form to be delivered to. Then we click the checkbox on Send email on your behalf to allow EmailJS send the mesages from your contact form to your desired email.
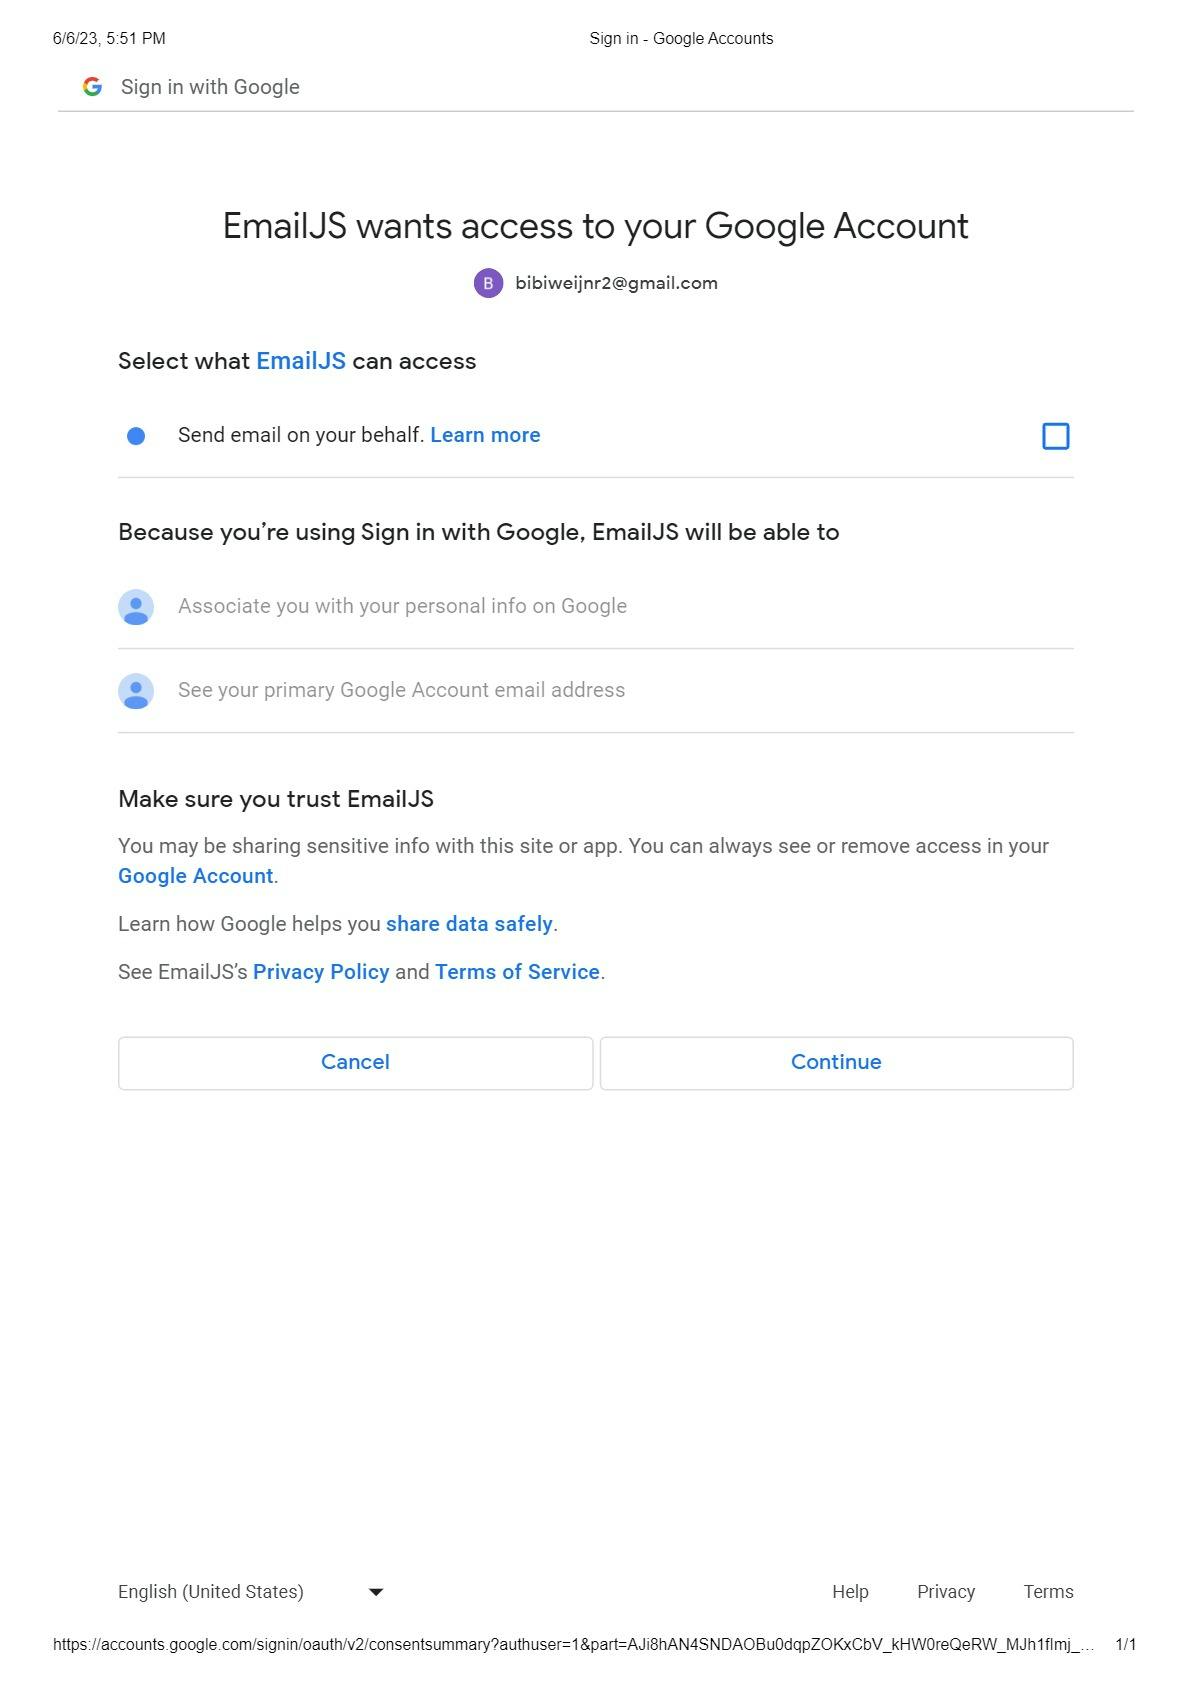
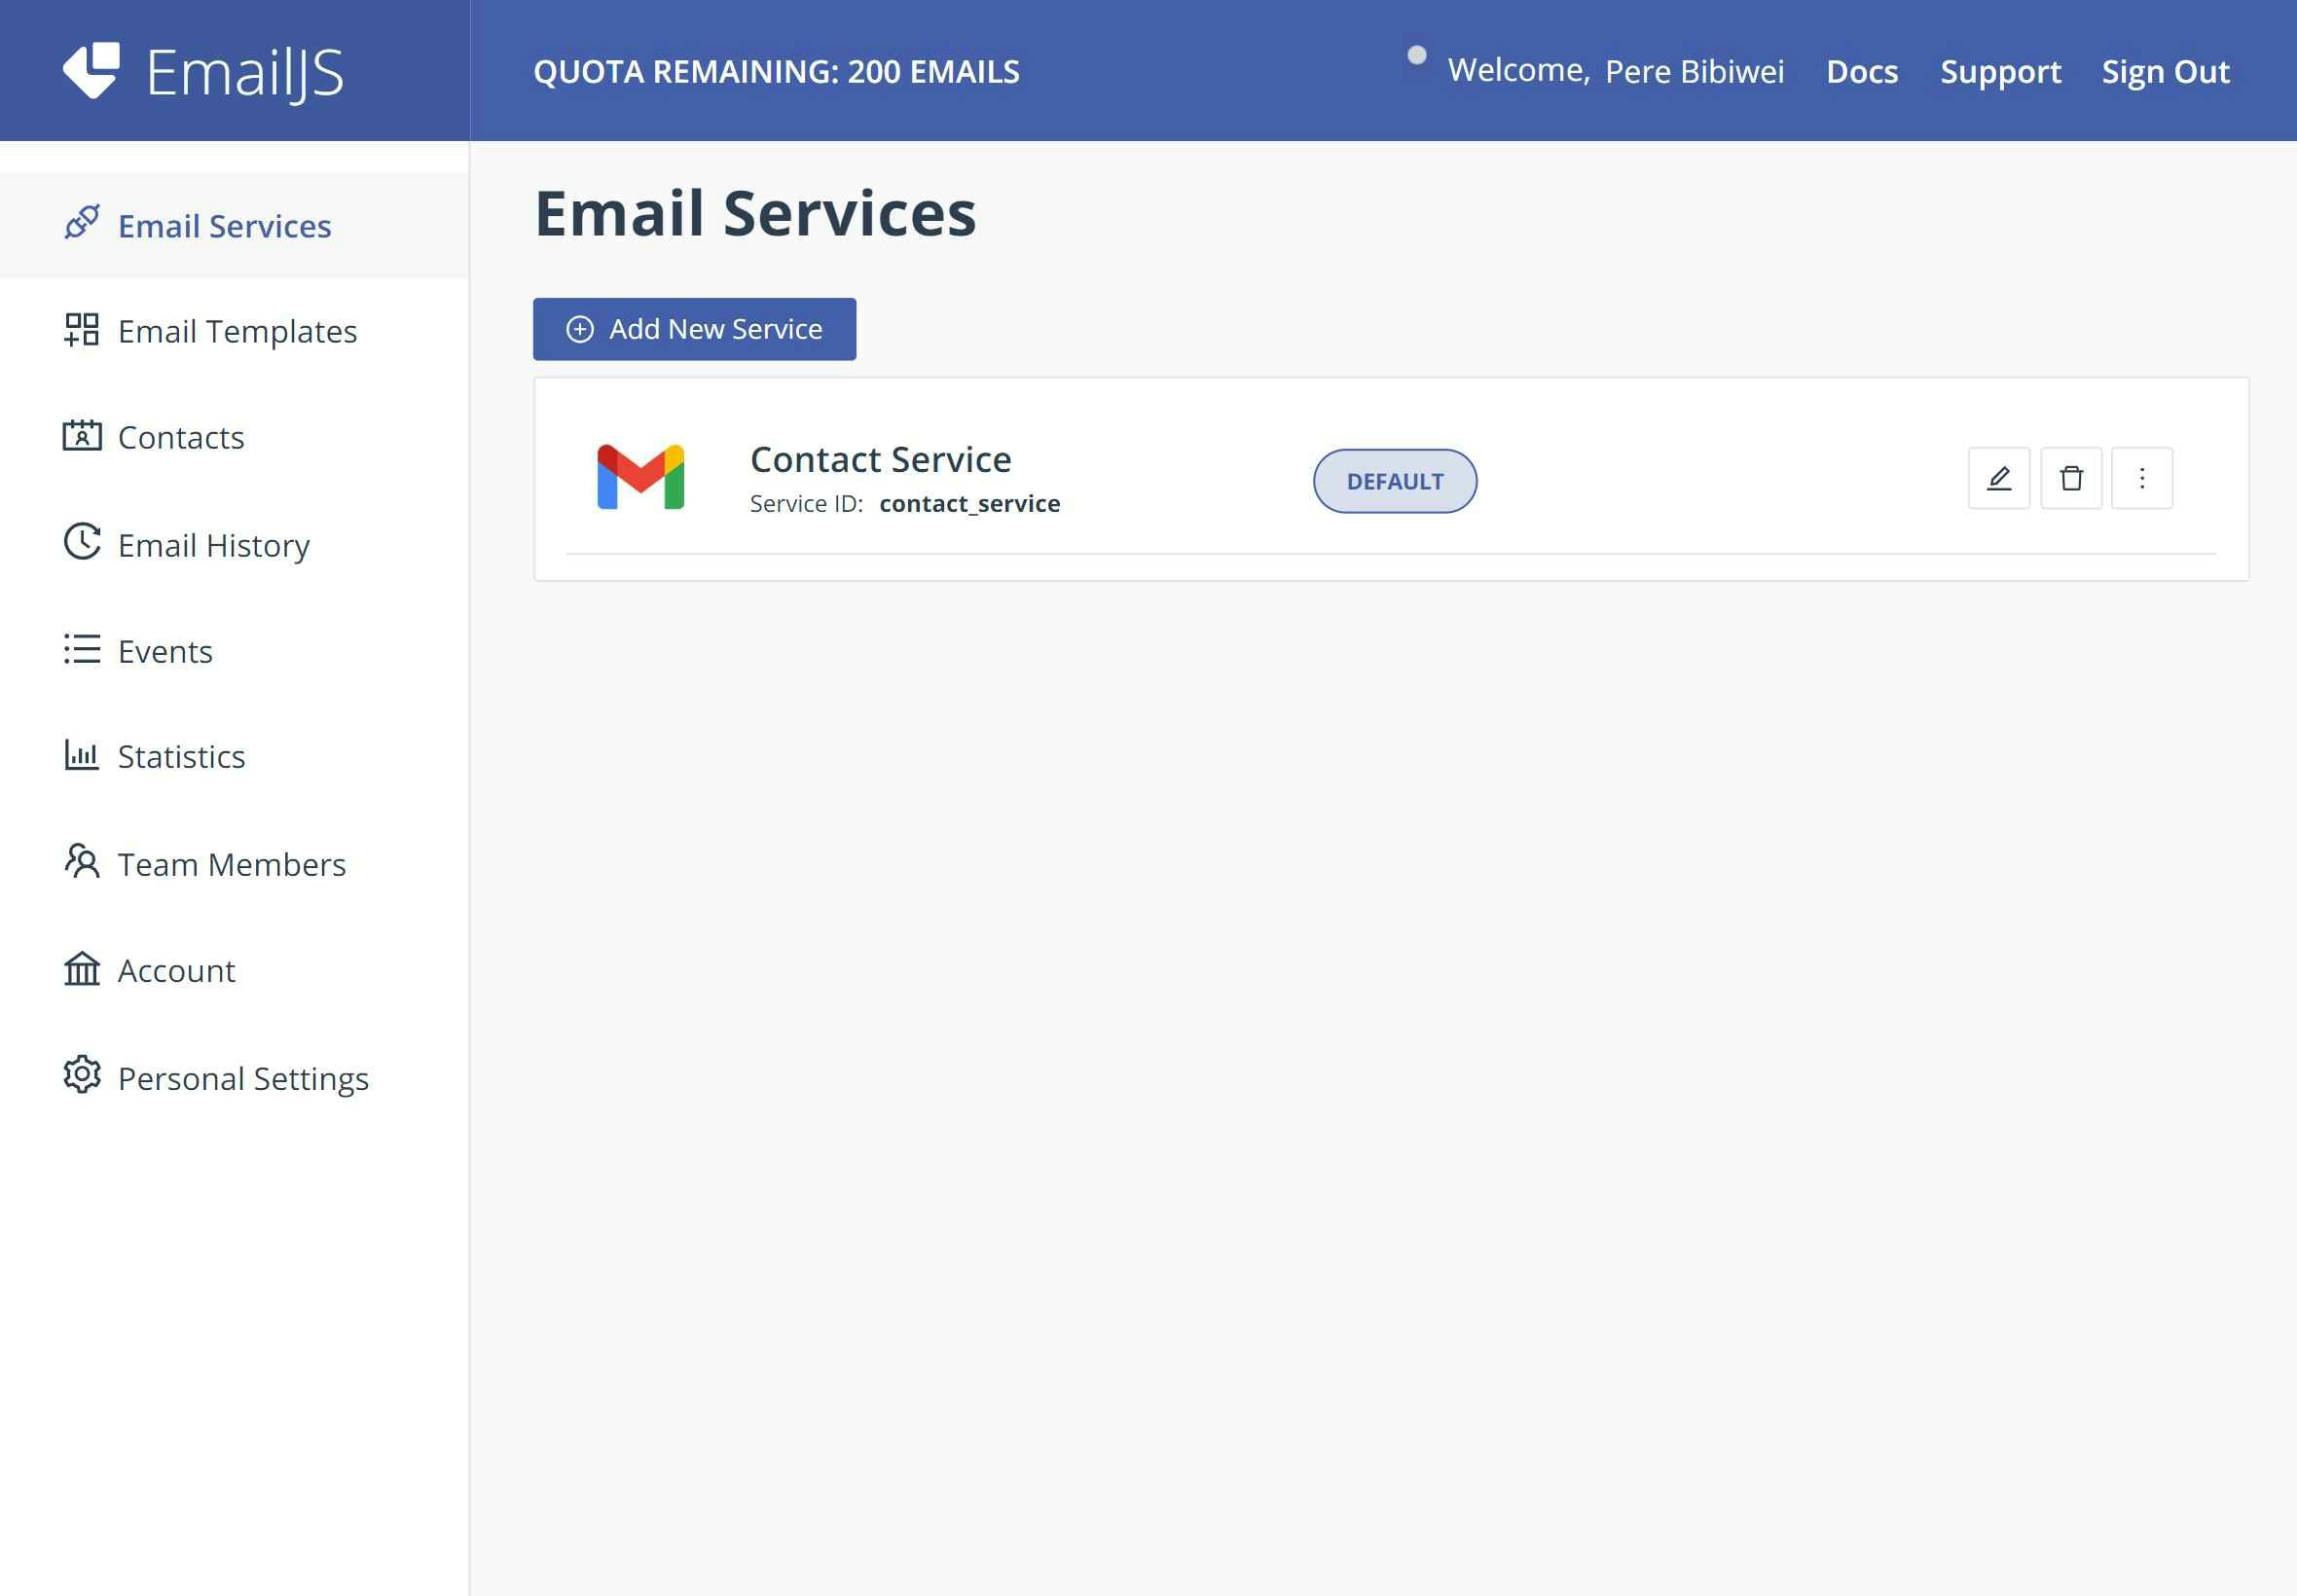
Lastly, we click continue and then Save service. We can now see the new service is displayed on the dashboard:
Step 3 - Create Email Template
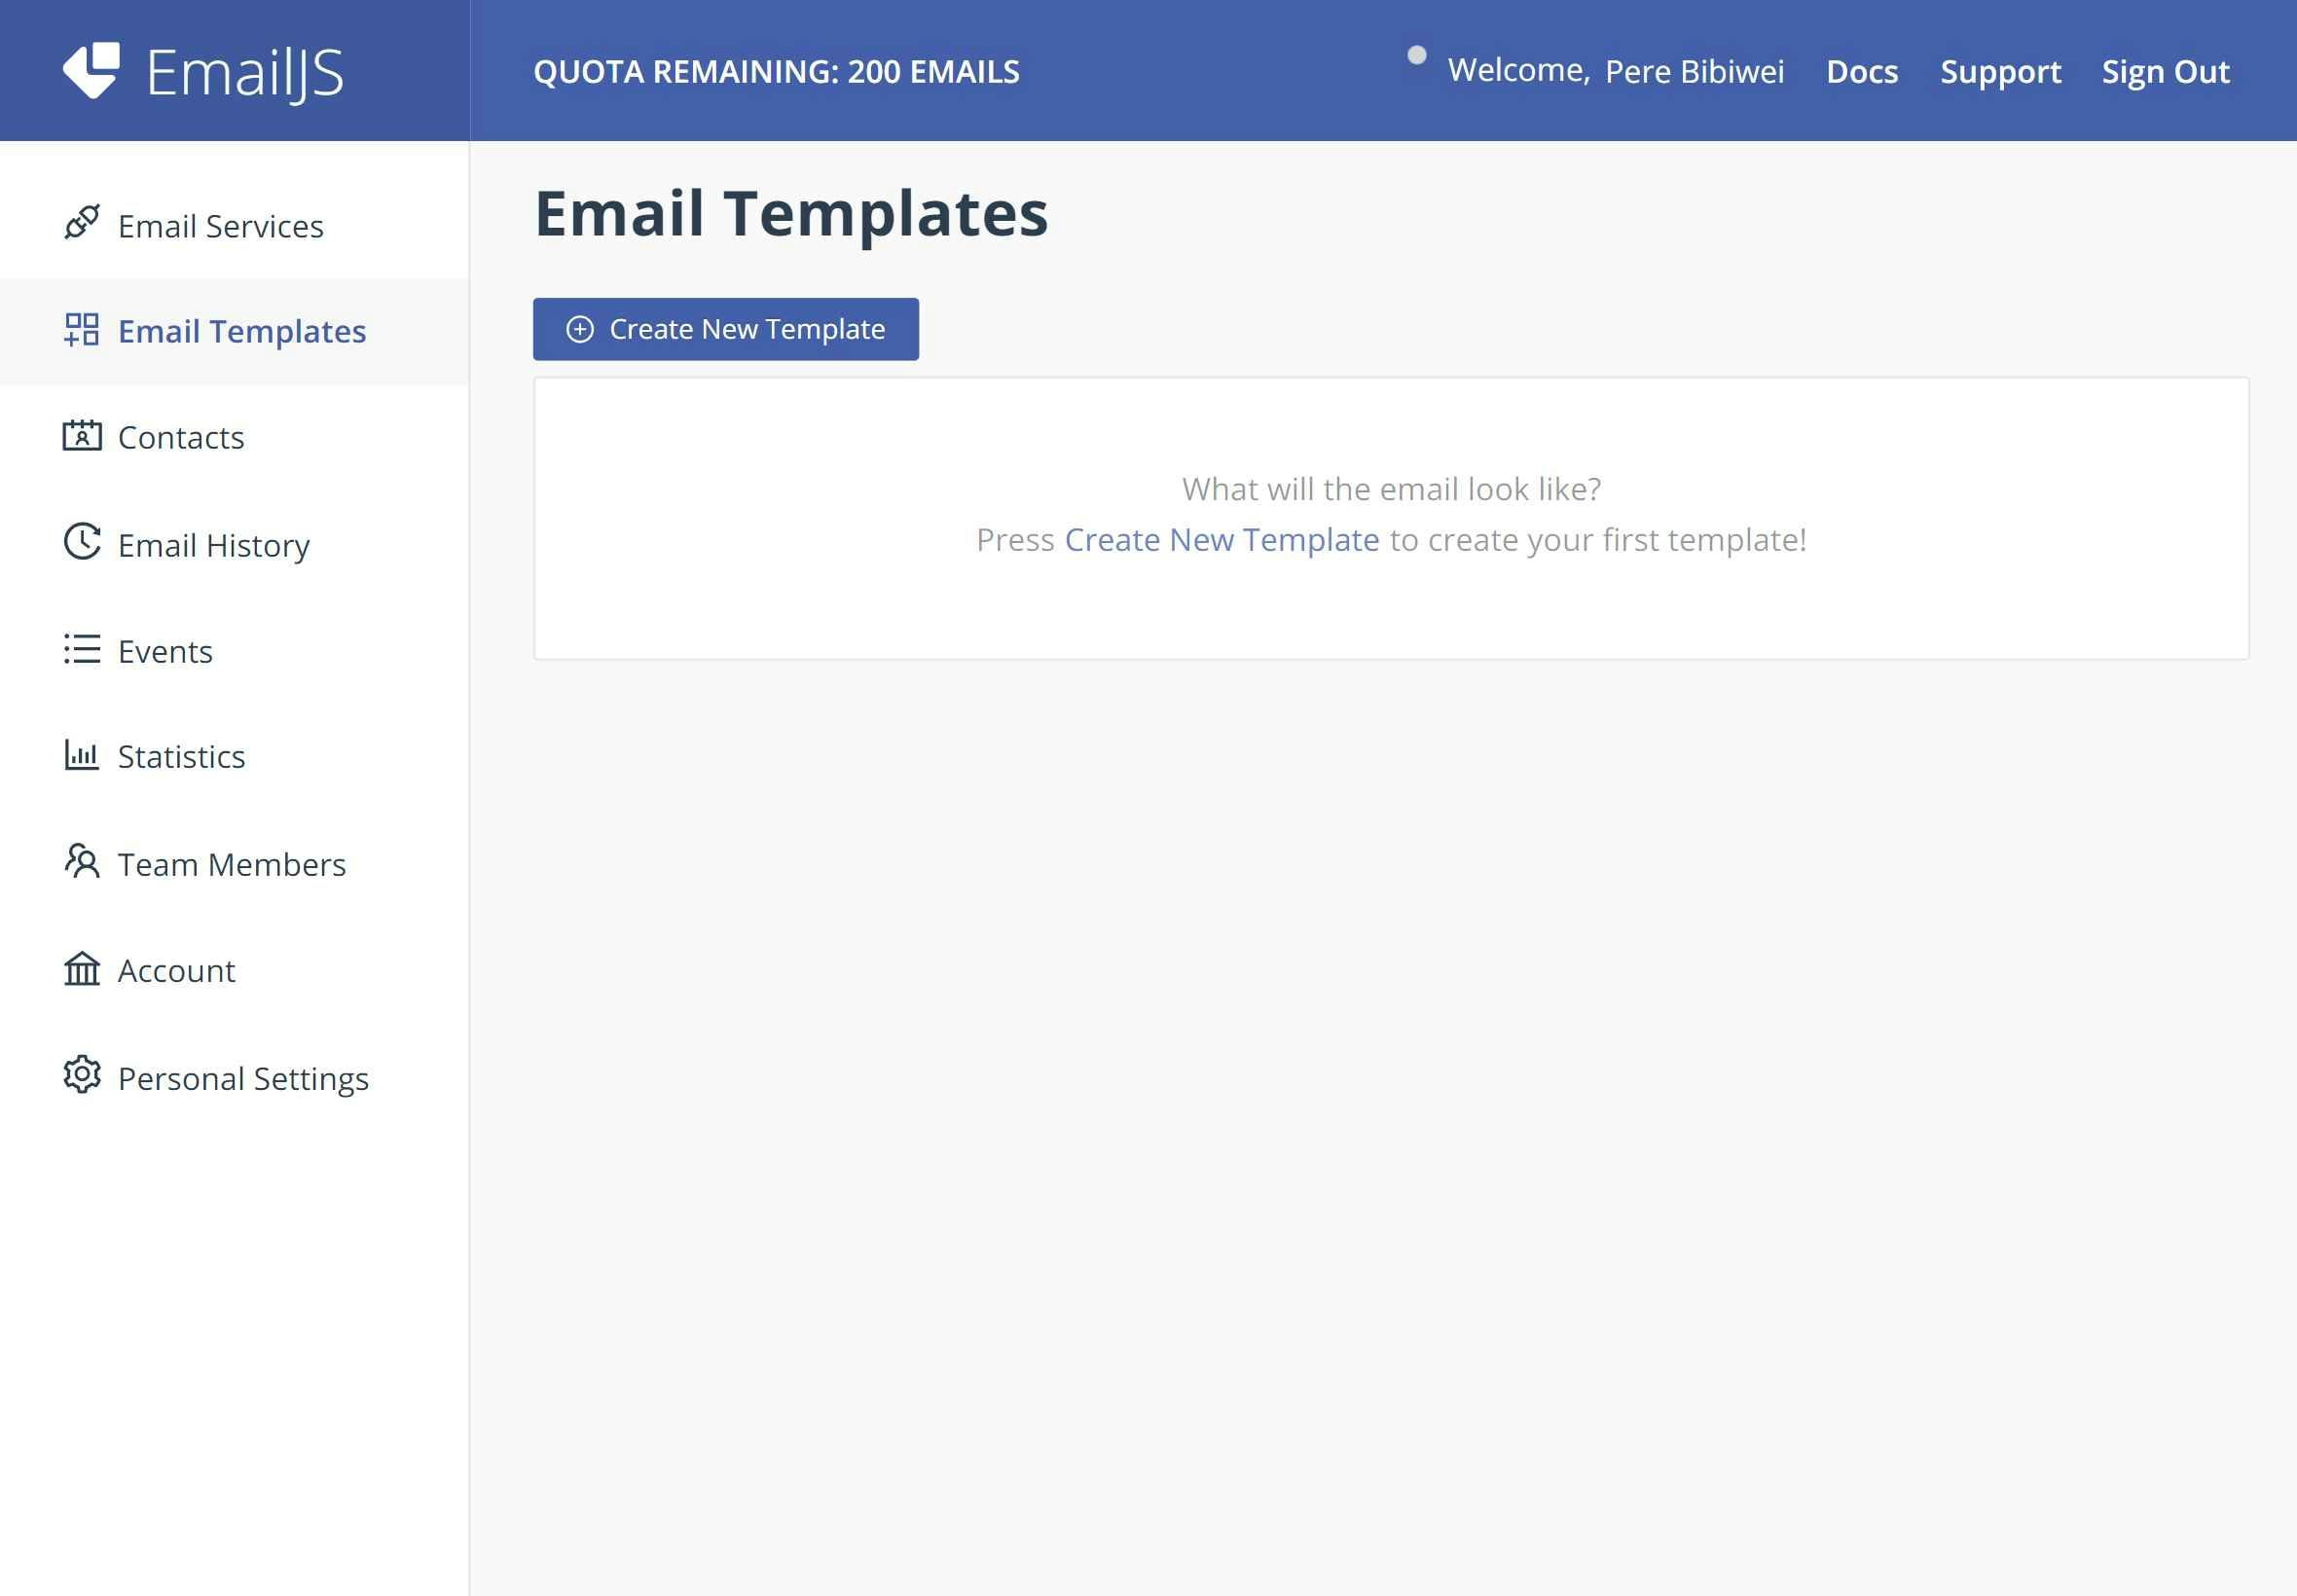
Next, we click Email template and then Create new template:
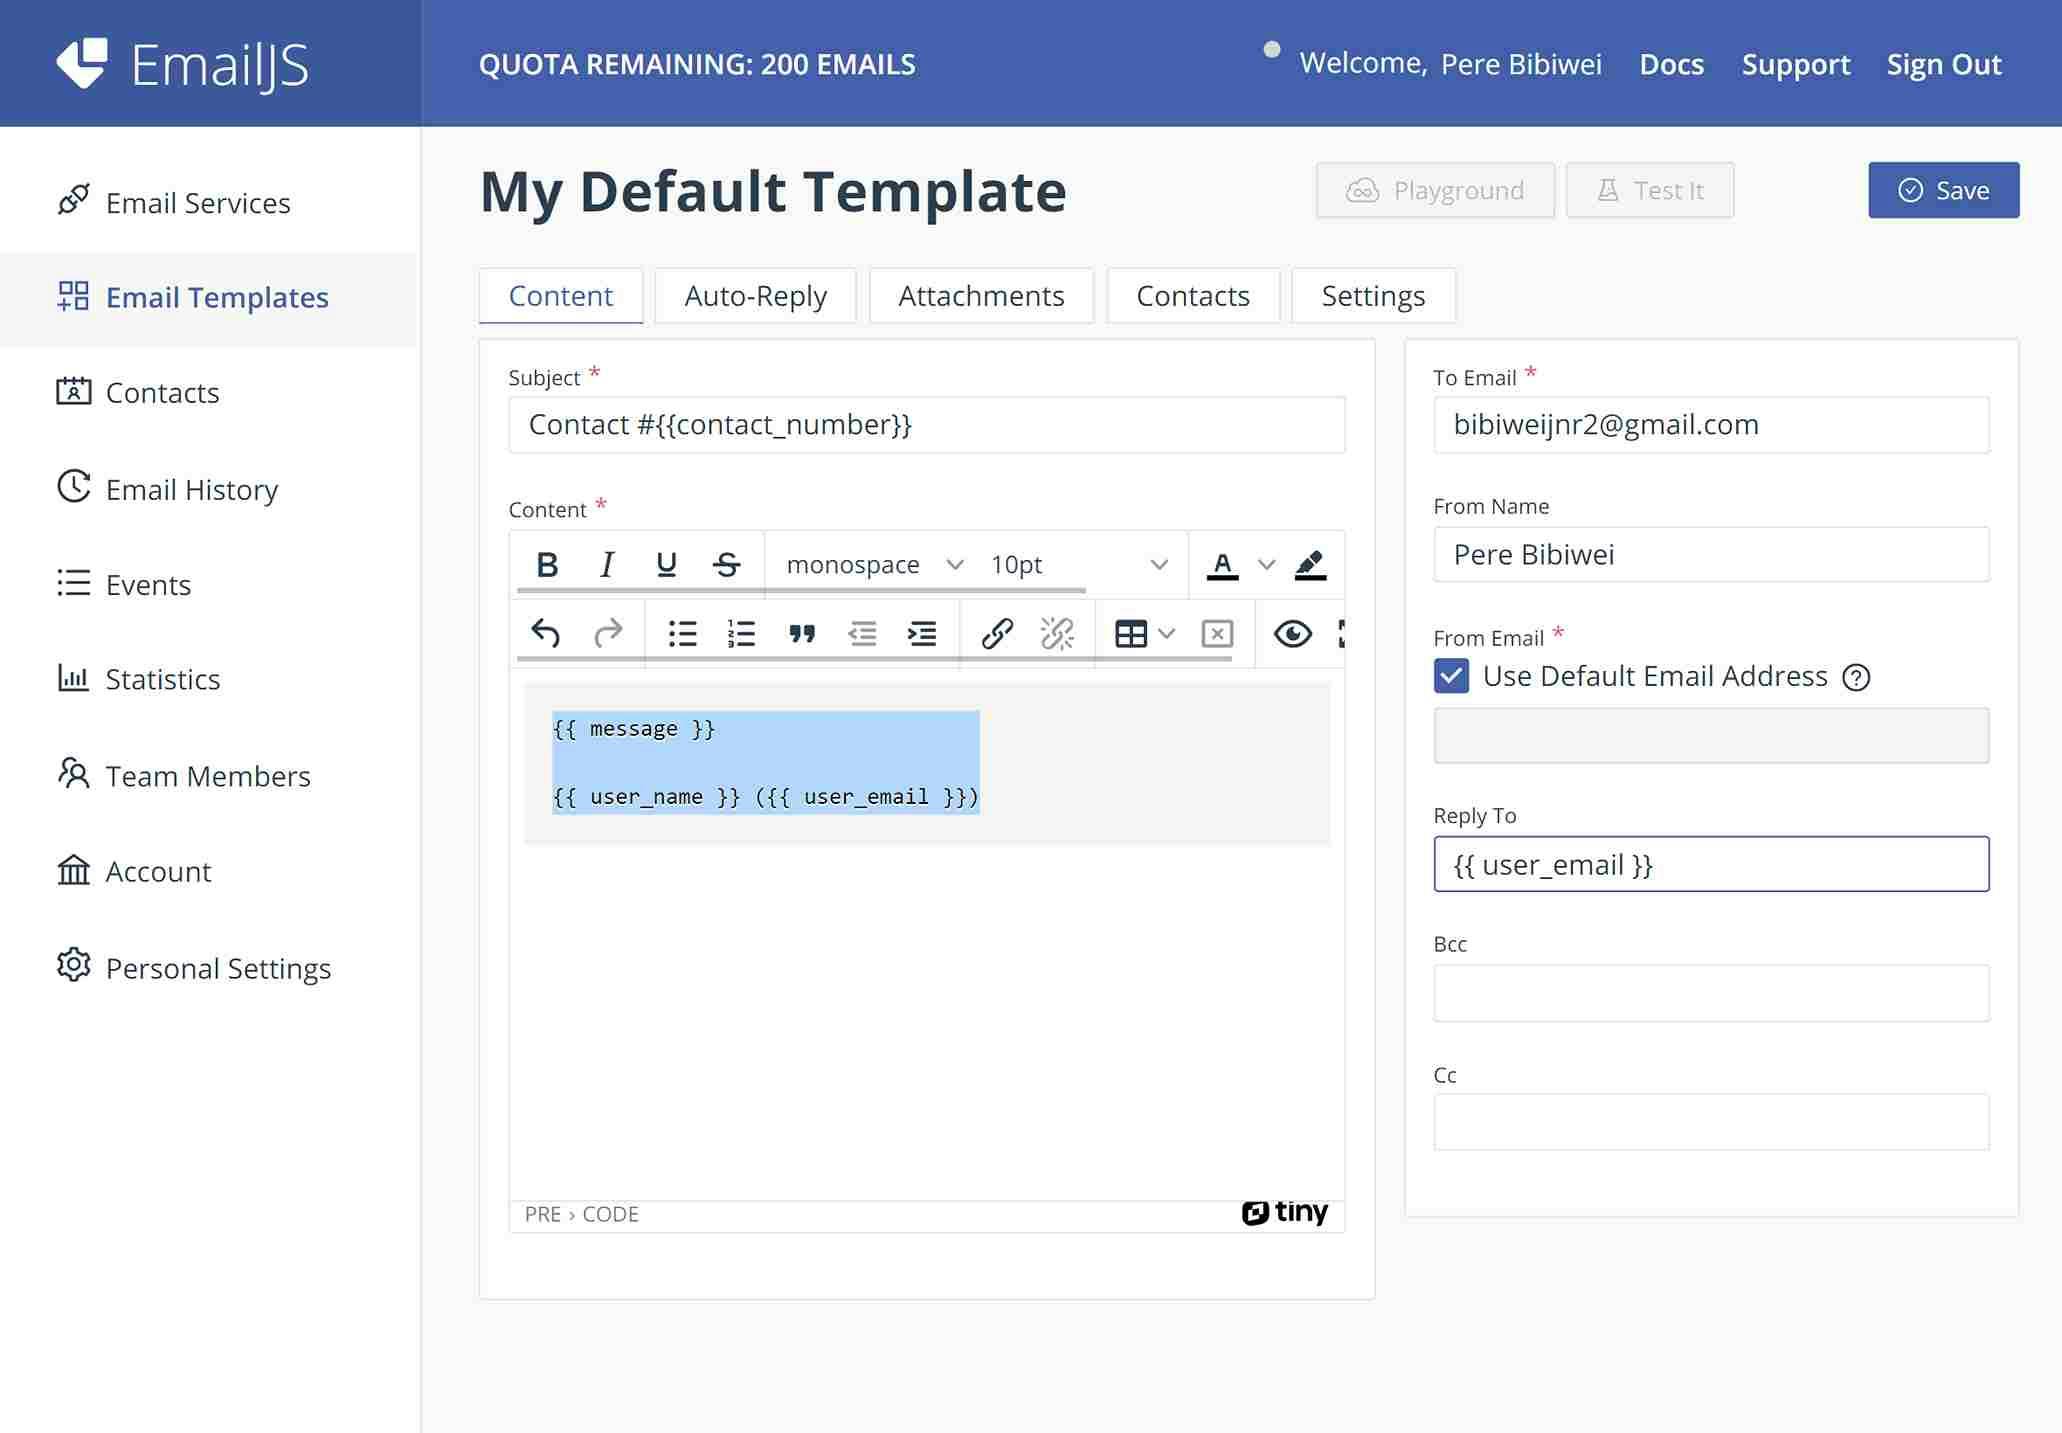
We then edited the content tab:
So what did I we do?
First, we changed the Subject to the code below. This creates a unique subject (for example contact #4552) for each email delivered so we can easily identify the different submissions.
Contact #{{contact_number}}
Second, we added the code below to the content section. This will deliver an email containing the message, name and email of the sender.
{{ message }}

{{ user_name }} ({{ user_email }})
Third, To email will contain the destination of this email. In the tutorial, it's our personal email address. (Example: bibiweijnr2@gmail.com)
From name is optional, but we can write our name here.
From email is the sender's email address as it will appear for the recipient. If the default email address checkbox is enabled then EmailJS system will use the email address associated with the email service in use.
Reply to will set the email address to which the replies should be sent. We will fill it as:
{{ user_email }}
BCC and CC: Both fields are used to send a copy of the message to everyone you've listed. The main difference between CC (Carbon Copy) and BCC (Blind Carbon Copy) is that the address listed in BCC are not visible to other recipients. In this tutorial, we will leave these fields blank.
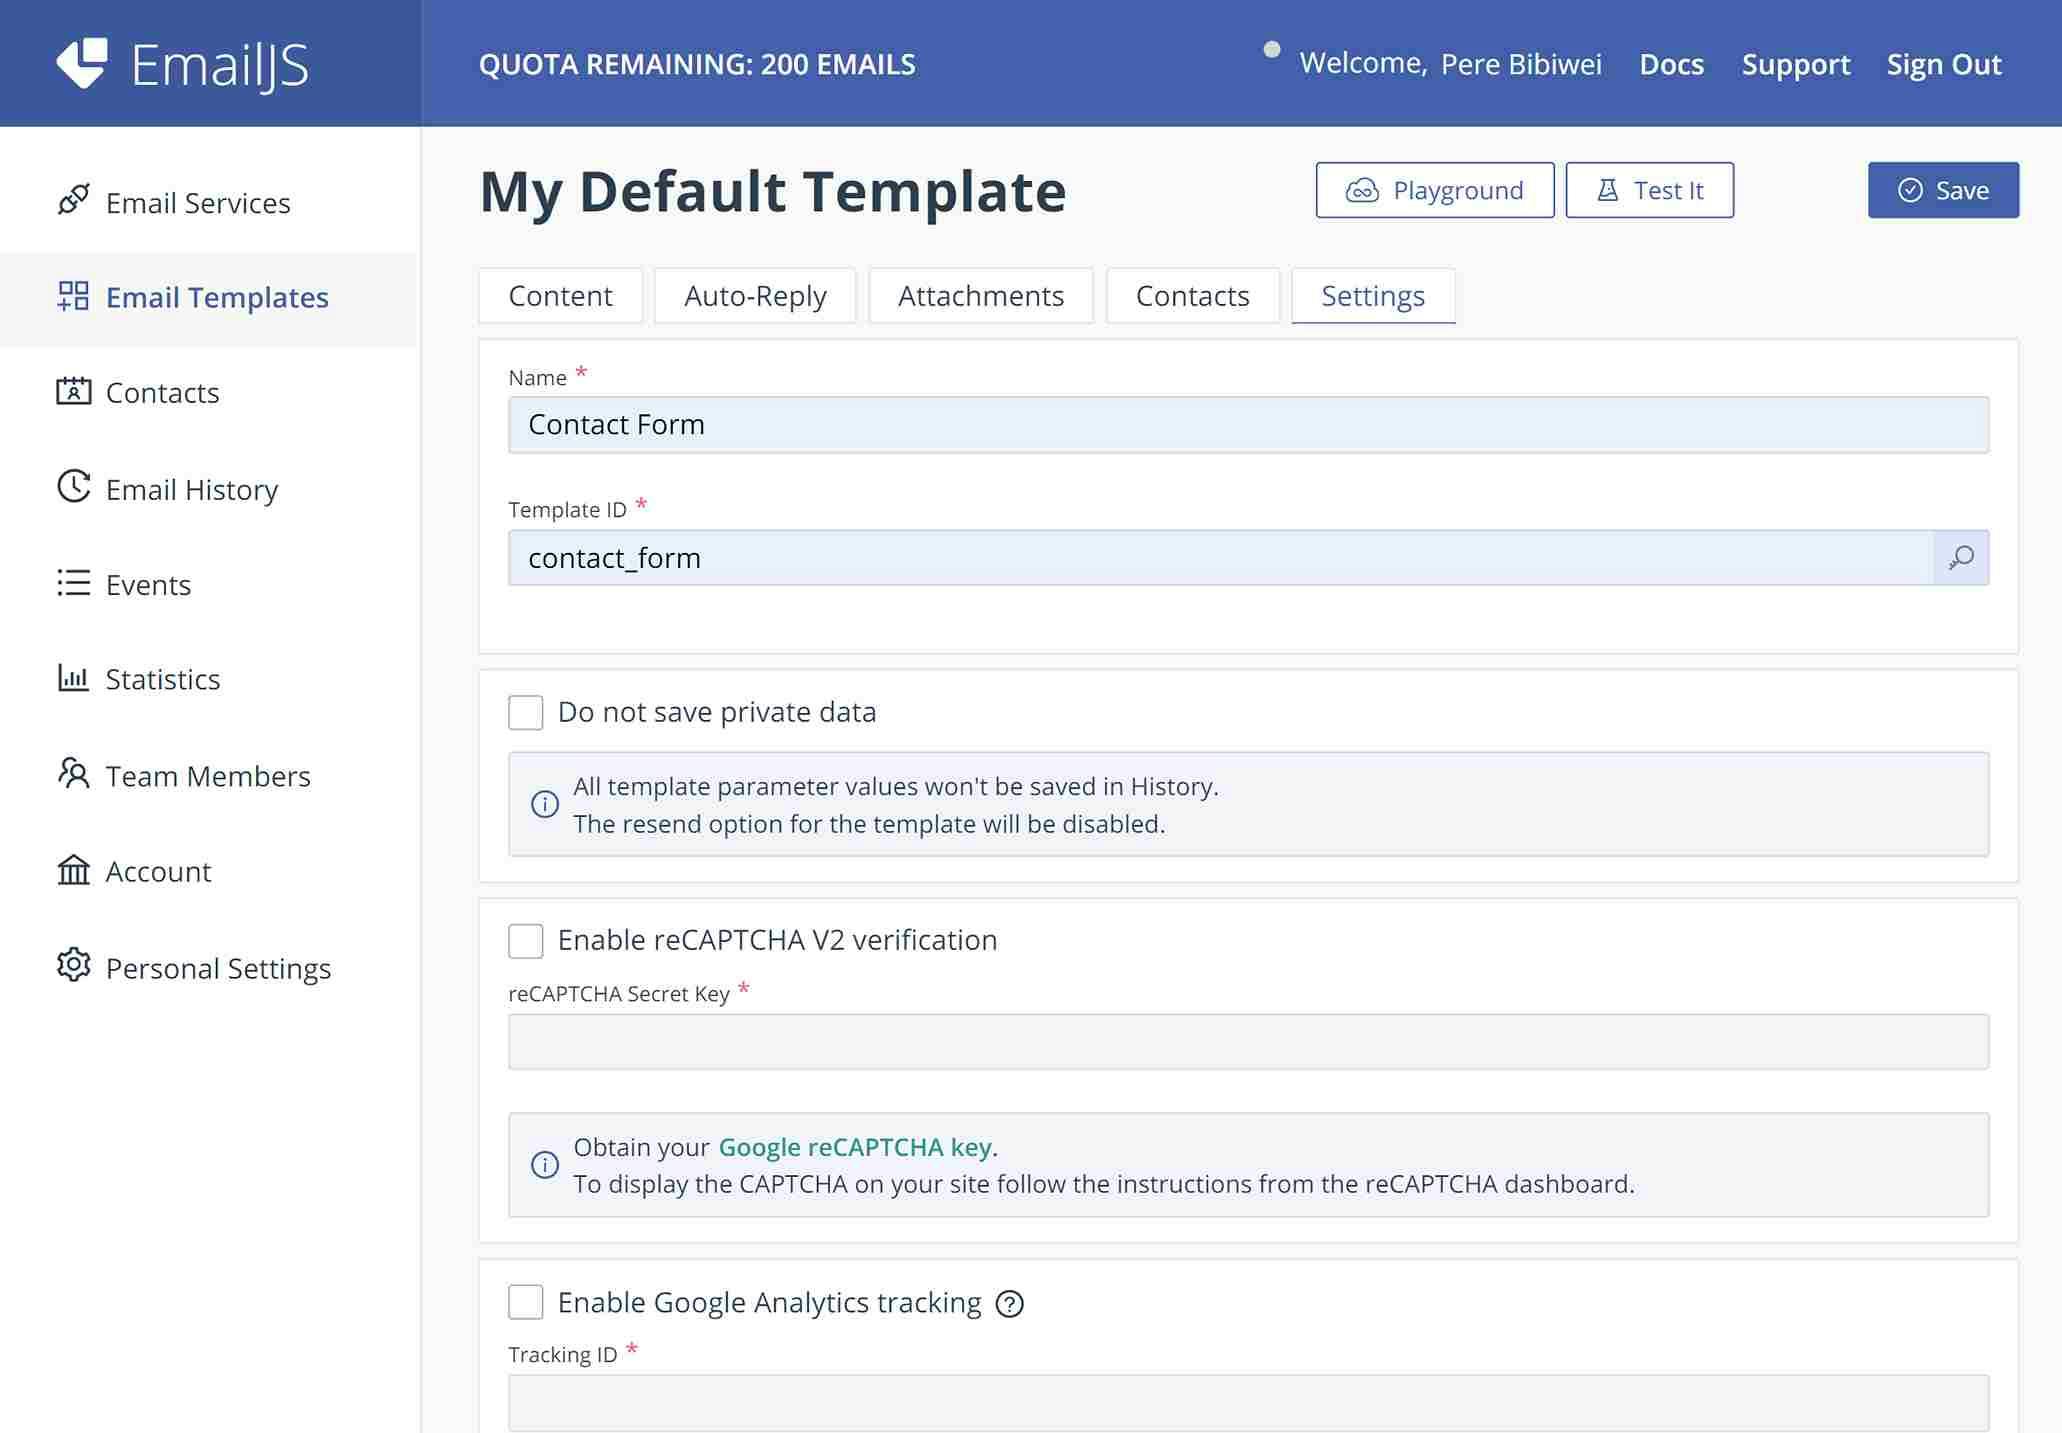
Next, we edited the settings tab.
So what did I we do?
we changed the Name and Template ID of the form to Contact Form and contact_form respectively.
Next, we clicked Save. We can now see our Email template displayed on the dashboard.

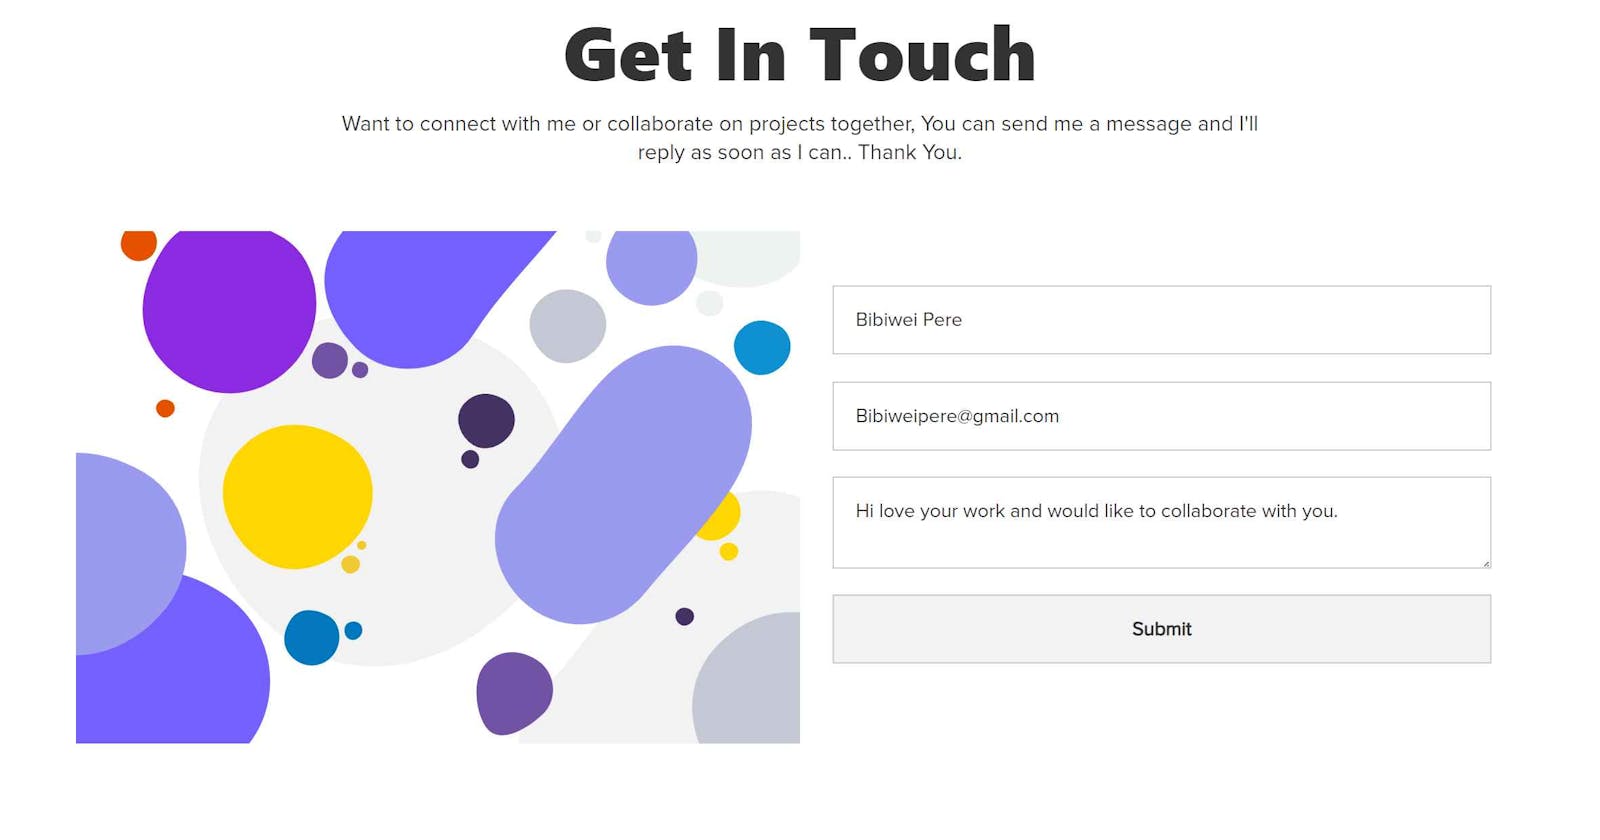
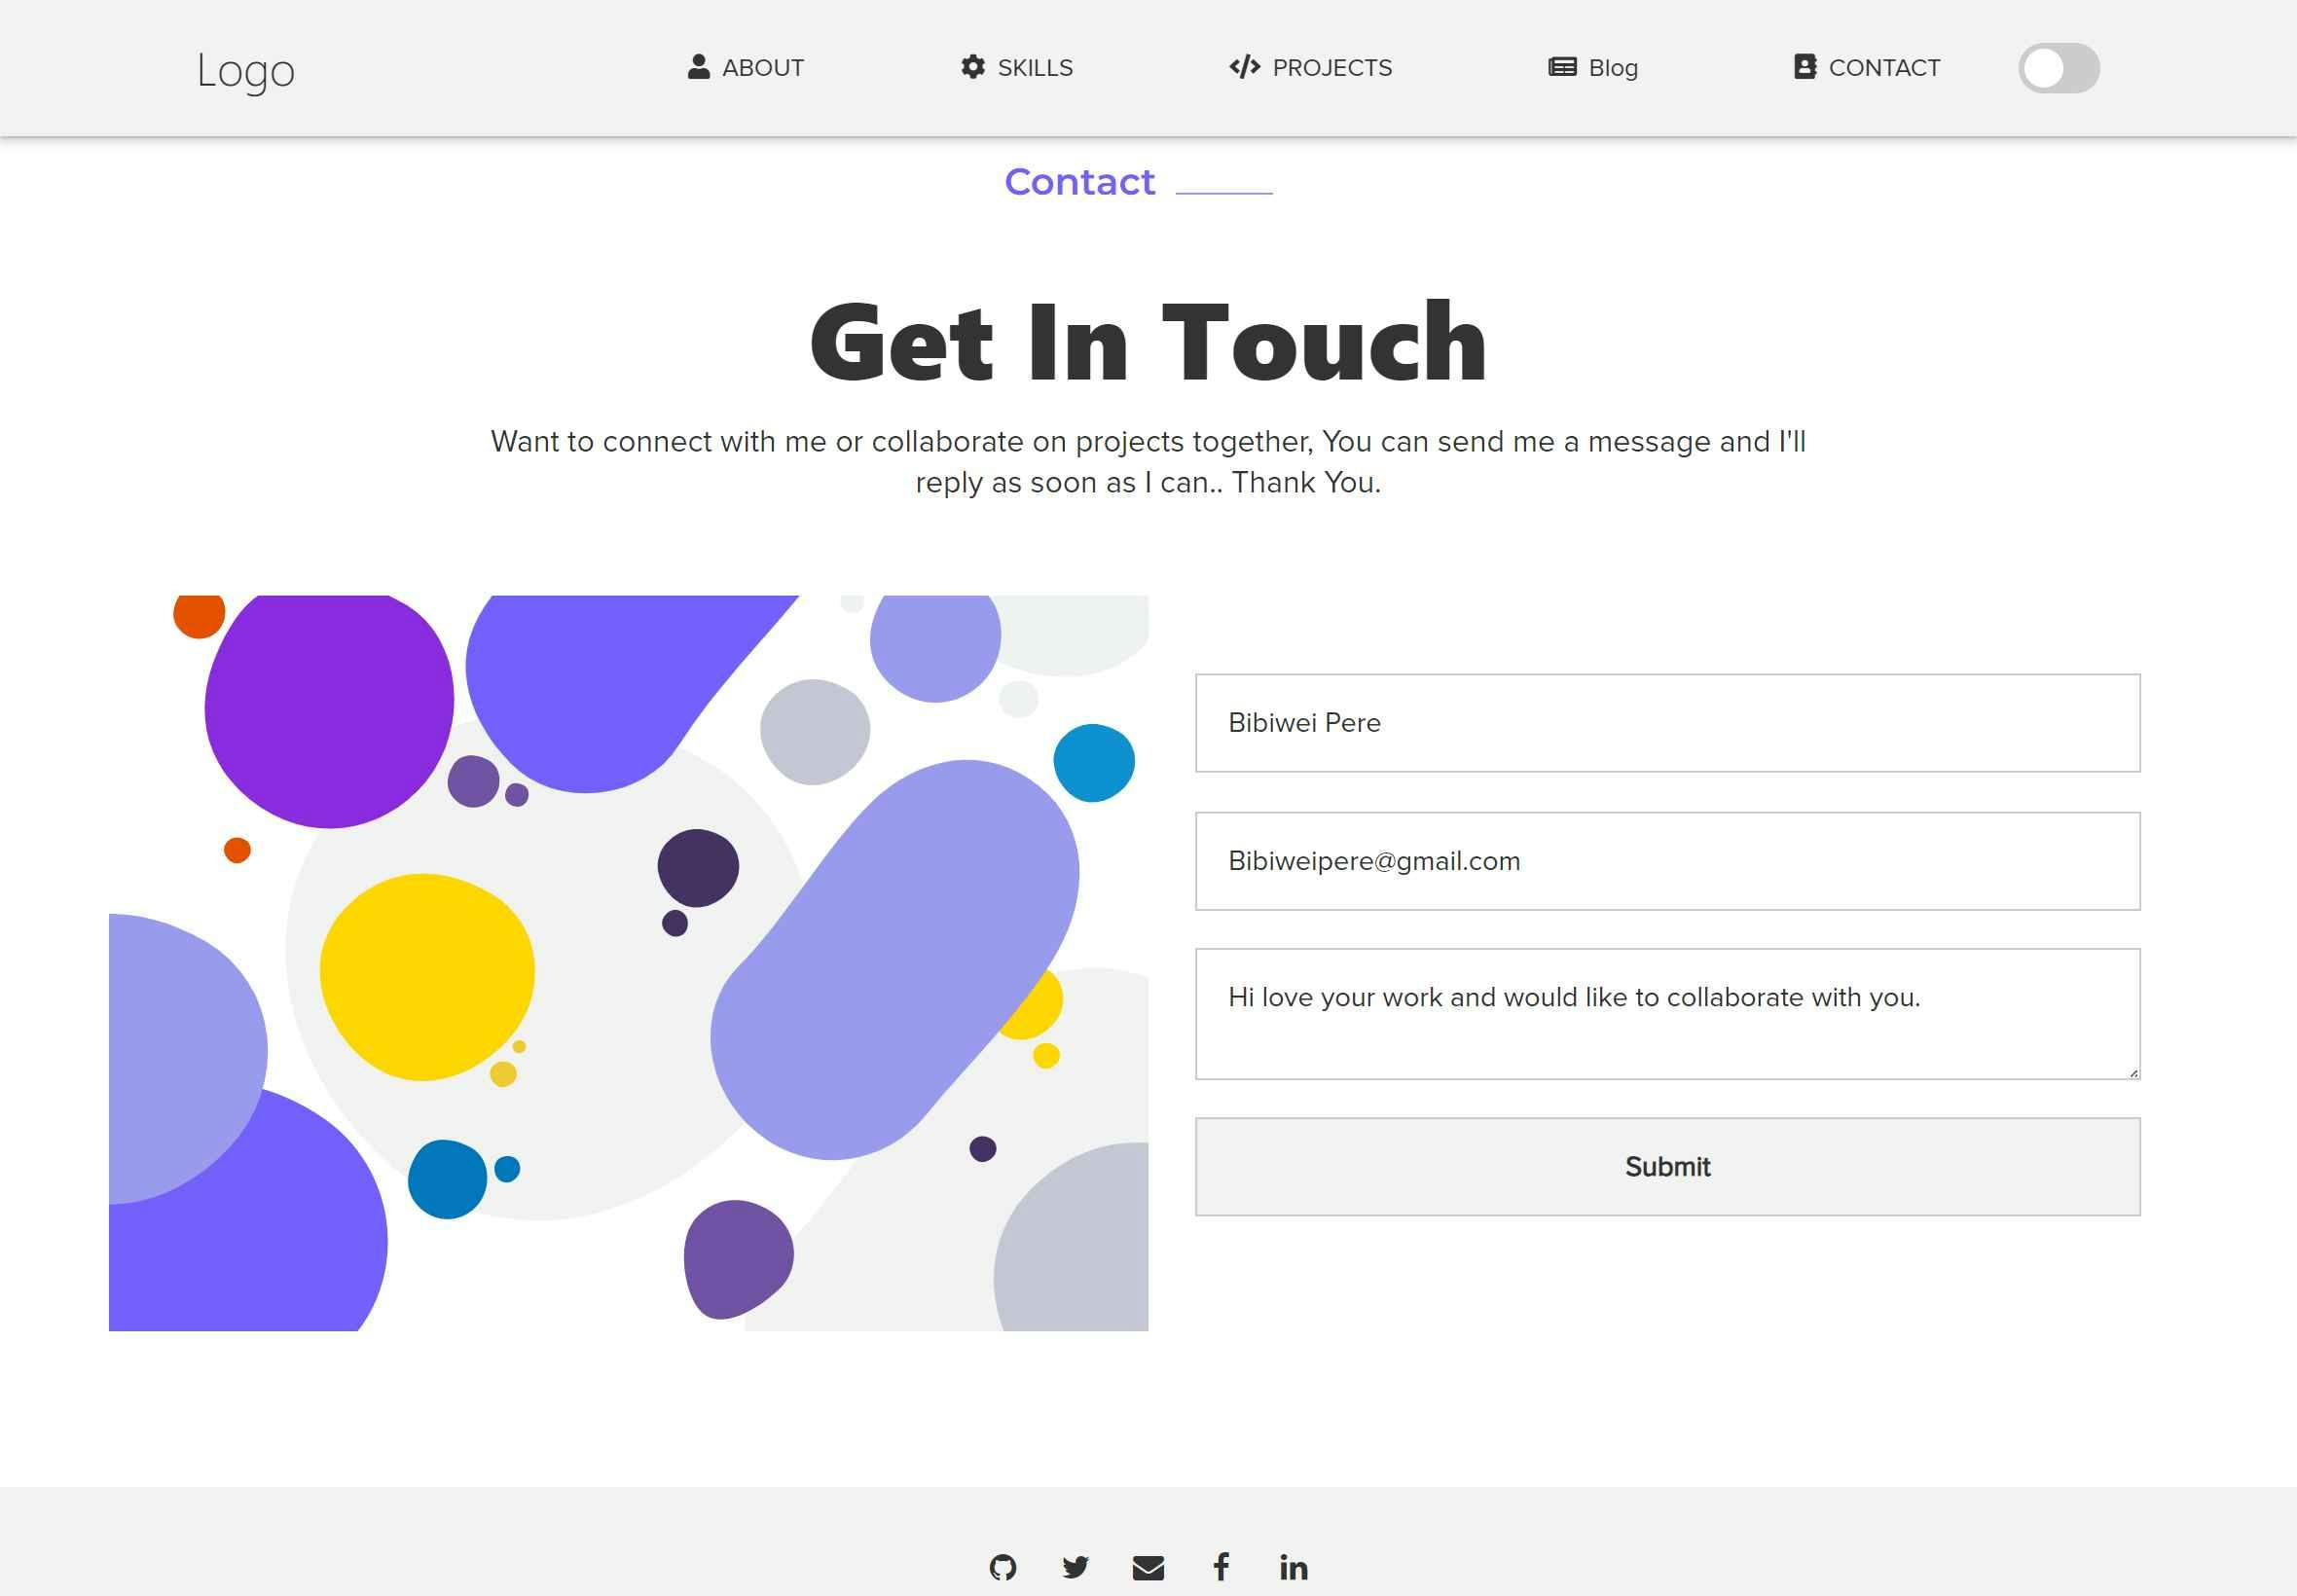
Step 4 - Create a contact form
We now have our Contact Service (Step 2) email service and Contact Form (Step 3) email template from the previous steps. Let's create a simple HTML form and send its content by email.
First, we added a javascript code to the head tag of our HTML code to integrate EmailJS.
<!-- Index.html or any other html file that your contact form is located -->
<!DOCTYPE html>
<html>
<head>
    <title>Contact Form</title>
    <script type="text/javascript" src="https://cdn.jsdelivr.net/npm/@emailjs/browser@3/dist/email.min.js"></script>
    <script type="text/javascript">
        (function() {
            // https://dashboard.emailjs.com/admin/account
            emailjs.init('YOUR_PUBLIC_KEY');
        })();
    </script>
    <script type="text/javascript">
        window.onload = function() {
            document.getElementById('contact-form').addEventListener('submit', function(event) {
                event.preventDefault();
                // generate a five digit number for the contact_number variable
                this.contact_number.value = Math.random() * 100000 | 0;
                // these IDs from the previous steps
                emailjs.sendForm('contact_service', 'contact_form', this)
                    .then(function() {
                        console.log('SUCCESS!');
                    }, function(error) {
                        console.log('FAILED...', error);
                    });
            });
        }
    </script>
</head>
<body>
</body>
</html>
So what did we do?
First, we load our EmailJS SDK
<script type="text/javascript" src="https://cdn.jsdelivr.net/npm/@emailjs/browser@3/dist/email.min.js"></script>
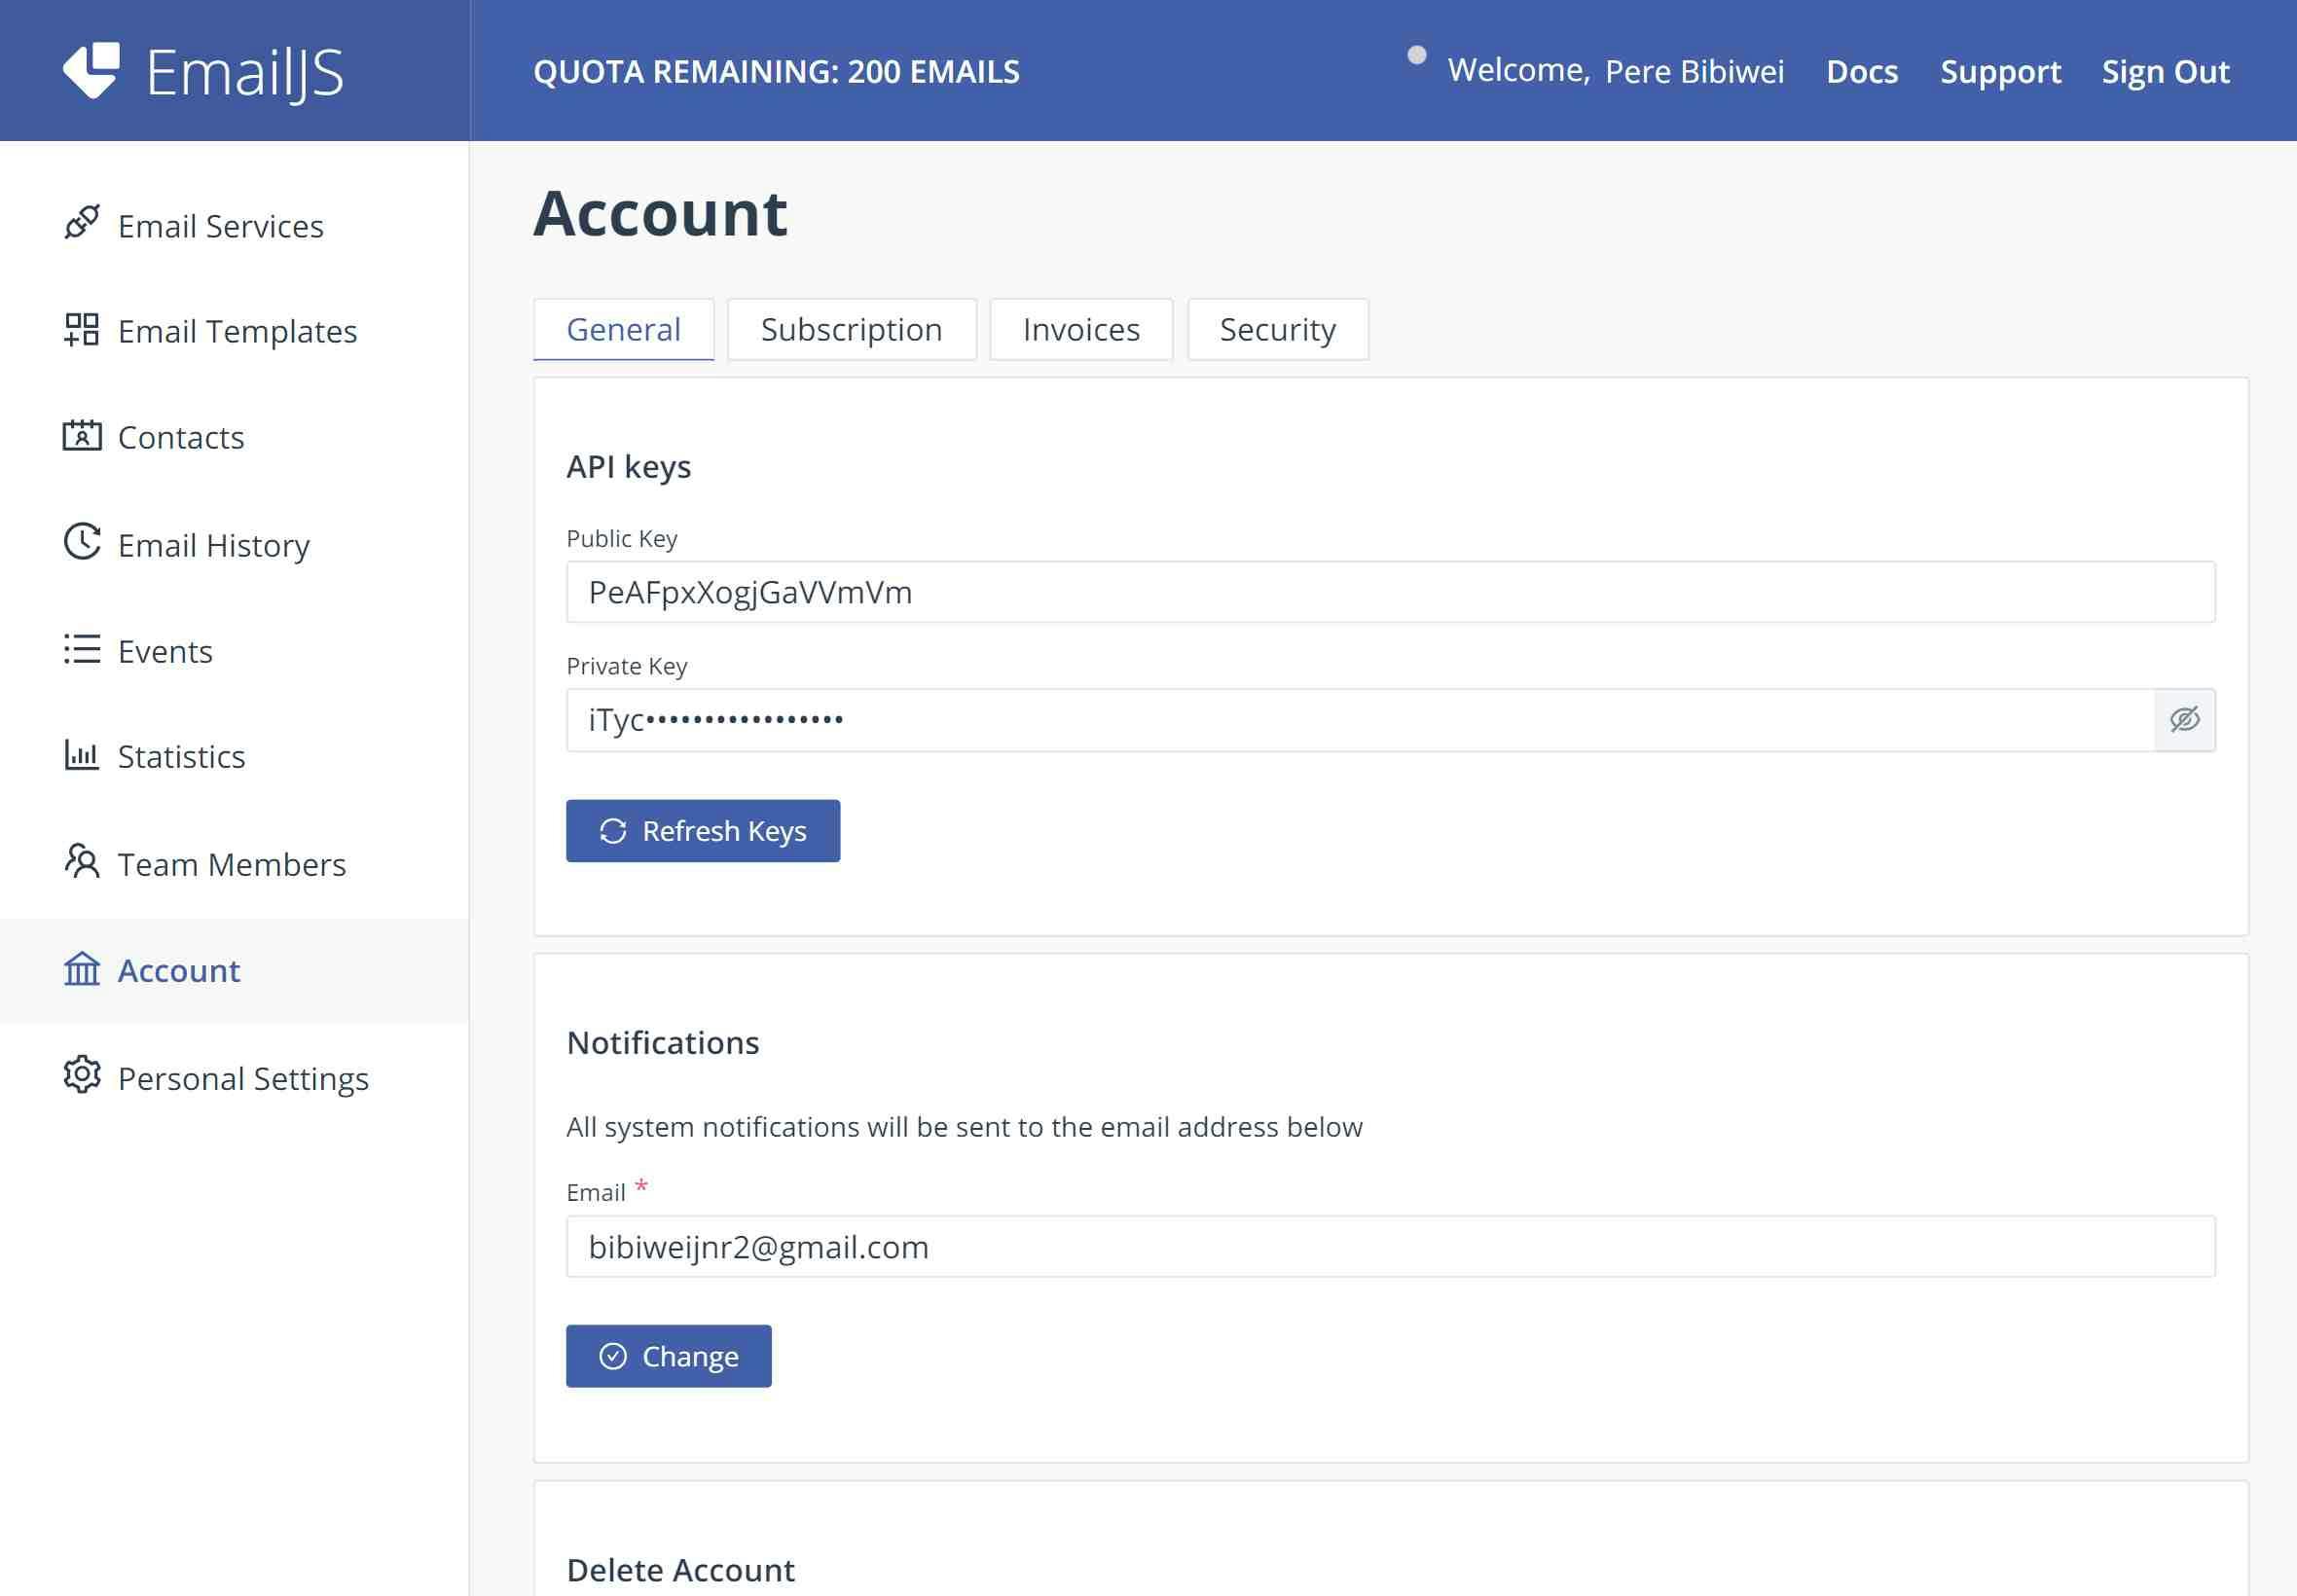
Second, we initialize the SDK with our public key
emailjs.init('YOUR_PUBLIC_KEY');
You can obtain your public key from the Account page in the EmailJS dashboard.
Third, we submit our contact form and send it through EmailJS, using our Contact Service (Step 2) and Contact Form (Step 3):
emailjs.sendForm('contact_service', 'contact_form', this)
Next, we added a form to the body tag of our HTML code. The complete code will look like:
<!-- Index.html or any other html file that your contact form is located -->
<!DOCTYPE html>
<html>
<head>
    <title>Contact Form</title>
    <script type="text/javascript" src="https://cdn.jsdelivr.net/npm/@emailjs/browser@3/dist/email.min.js"></script>
    <script type="text/javascript">
        (function() {
            // https://dashboard.emailjs.com/admin/account
            emailjs.init('YOUR_PUBLIC_KEY');
        })();
    </script>
    <script type="text/javascript">
        window.onload = function() {
            document.getElementById('contact-form').addEventListener('submit', function(event) {
                event.preventDefault();
                // generate a five digit number for the contact_number variable
                this.contact_number.value = Math.random() * 100000 | 0;
                // these IDs from the previous steps
                emailjs.sendForm('contact_service', 'contact_form', this)
                    .then(function() {
                        console.log('SUCCESS!');
                    }, function(error) {
                        console.log('FAILED...', error);
                    });
            });
        }
    </script>
</head>
<body>
    <form id="contact-form" class="form">
        <input type="hidden" name="contact_number">
        <div class="form-group group-bg">
          <input type="text" name="user_name" placeholder="Enter Name"/>
        </div>
        <div class="form-group group-bg">
          <input type="email" name="user_email" placeholder="Email"/>
        </div>
        <div class="form-group group-bg">
          <textarea name="message" placeholder="Message"></textarea>
        </div>
        <div class="form-group">
          <button type="submit" value="Send" class="btn">Submit</button>
        </div>
    </form>
</body>
</html>
So what did we do?
(Note: The div tags in the form were used to beautify my form. ignore if you already have your own styling. You can get this code from GitHub)
First, we set our first input to hidden and name attribute to contact_number (from step 2 REMEMBER!!).
<input type="hidden" name="contact_number">
Second, we assign our second and third input name attributes of user_name and user_email respectively. Also explained in Step 3.
<input type="text" name="user_name" placeholder="Enter Name">
<input type="email" name="user_email" placeholder="Email">
Third, we also assigned our textarea tag a name attribute of message as explained in step 3.
<textarea name="message" placeholder="Message"></textarea>
<button type="submit" value="Send" class="btn">Submit</button>
That’s it!
After filling the fields and sending the request we should find the new email in our personal inbox. If you can't find it take a look at the spam folder.
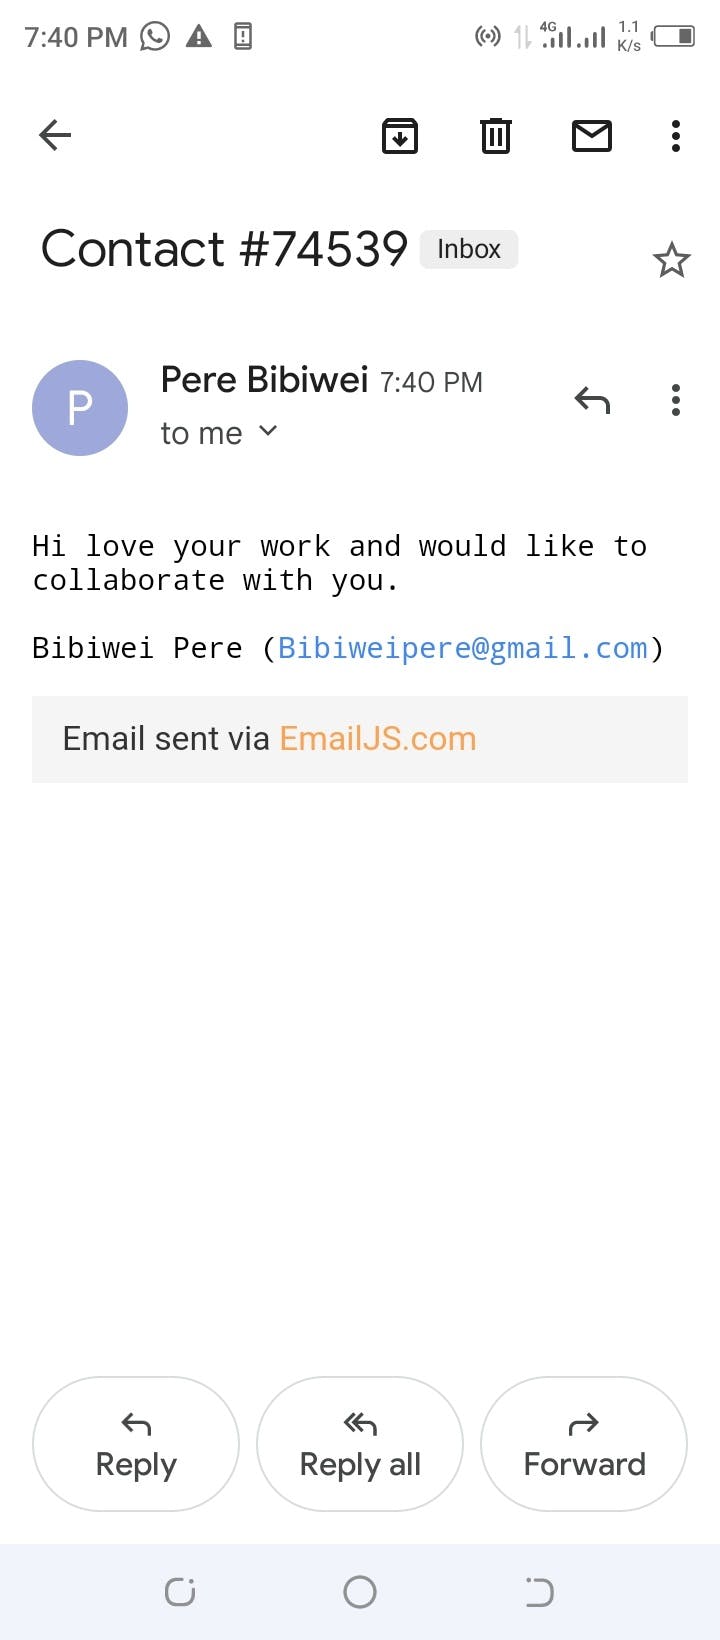
You now have a contact form that sends all submissions to your inbox via your own Gmail account.
You can also get the source code for this tutorial from GitHub
Next tutorial, we will be creating a pop-up message that displays a success or error message once a form is submitted. Example (Thanks you for contacting us, your form as been submited!)